To Start:
I have been in love with the idea of having my own networking and server rack for my personal usage for years now. The thought of have a space to neatly put all the gear I use without having to create a space on a shelf and have it look gaudy just fills my heart with delight. I always new enterprise racks would be out of reach financially; there is no way that I’m going to pay business pricing unless I’m making more per hour than the cost of the rack, in which case, hell yeah I’ll shell out for a really nice pre-built rack.
Fast forward to now, and I finally have something I want to put in a rack. 1: I am moving my Workstation/Gaming PC from the shiny lights and open display of the wonderful Thermal Take Core P5 case that I was in love with for quite a while. You can get one here if it suits your fancy. There are plenty of builds you can do with thing and they all turn out looking pretty neato. Just check out this DDG search if you’re interested.
https://duckduckgo.com/?q=core+p5+builds&t=ffnt&atb=v188-1&ia=images&iax=images
With that case I didn’t really have the time to make it really pop the way I wanted to, and with the lights from the PC affecting my sleep, my interest in PCs have turned more towards power that isn’t really visible. I want the power of my workstation, but I don’t want the fancy lights to go with it. I have opted to get a rack mounted server case and use that to put my machine in.
The idea is that I can have the rack be where ever I want it to be, and have my desk setup be where ever I want it to be. I have already ran extensions to great affect, and using the information from http://www.yourcablestore.com/USB-Cable-Length-Limitations-And-How-To-Break-Them_ep_42-1.html , we can theoretically take each of my 14 USB ports on my Mobo to around 98ft away from the workstation case. For video to my monitors we can do fancy things like running the signal over CAT, which since we’re building a network rack, why not. Really none of my cable should ever need to go very far since the rack should be in the same room, but I’m just not limiting myself to putting the rack directly next to the desk, as I’m interested in how hidden I can make the setup.
For those curious about my current workstation build, you can check here https://pcpartpicker.com/user/Senselessgeek/saved/R66ZRB. I’ll be doing a separate project where I demonstrate how to fit all of those parts “neatly” into an RSV-L4500
I imagine that project will be a very interesting post indeed. Judging by the box size it should fit nice and snug.
Researching the project:
Going through my mind of what type of equipment I would put into a rack, I immediately thought, there is no way I’m gonna need a full 48 unit rack. I started shopping for unit sizes. For what I would be willing to spend, I could get a wall mounted, fully open, 12u rack; but I rent, so that would be out of the question cause I’m not mounting more things to the wall than I need to, and I already have a bunch of stuff mounted to the walls. If I overload the rack and it comes out, or if it bends and snaps and puts a huge hole in the wall, there goes the deposit.
They have these single frame racks that are 42 to 48 in the price range but they are meant for cable relays not to host actual gear, so that’s out of the question. I can just imagine it now, I put some gear in it and it folds over on itself, then I’m out of a rack again; No, I need something that is super sturdy to hold what ever I want to throw in it, even though all I have to throw in it is a server chassis. I have dreams of expansion, dammit.
So for a “sturdy” 48u rack, we are looking in the $800-$2500 range, way outside the budget. Okay, what’s a 6u rack cost? I only need 4u for the RSV-L4500, a couple u’s to “expand” into. Seriously?! over $100 for 6u. We are definitely getting charged based on some type of naming convention. For a reasonable 12u rack we start looking at $200 for decent quality builds, and as I search more and more, the price keeps going up from there. Then I just happened to read on a forum that audio racks are the same damn thing, which they pretty much are, and tend to be much cheaper, cause let’s face it. When your starting a band, your not exactly rolling in money.
For a 12u audio rack, the price came down to what the 6u was gonna be, but the build quality still looked lacking. How would it ship? Would it be sturdy enough to hold everything? Looking into sturdier options only brought the price back up to what the other racks were going for. Opening up to audio racking did open a new avenue for forums to read and led me to the DIY space for rack building.
I watched a few builds on YouTube, like this gem of making an audio rack for $10 https://www.youtube.com/watch?v=3ZUHhSbQkGw or this nice guide on making a 6u rack using 2x2s https://www.youtube.com/watch?v=j8Yq5aWapeg. I also ran into this overly complicated, beautiful DIY rack from Tom Builds Stuff https://tombuildsstuff.blogspot.com/2014/02/diy-server-rack-plans.html.
Well, now the idea has firmly set in. I’m gonna build a rack myself. If I do it that way, I’m only limited by my wood working skills and the size of side rails I need. I ended up picking up two sets of 20u side rails (makes mounting front and back nice and easy, and the option to add rails for more stability) for a reasonable $28 each, and 9x 4’ 2x4s $3 each and 3x 3’ 2x4s from Home Depot for $2 each. I could have got full on 8’ 2x4s for the same price but unfortunately I own a Corolla not a Tundra or a Taco, but the 3’ length fit very nicely into the back seat of the Corolla.
So, total cost so far is (2x28)+(9x3)+(3x2)=$89 for parts, which is well under the cost of the cheapest “sturdy” rack I could find on Amazon ($117 wall mounted) and well below the standard $250-$600 for a rack this size.
note:
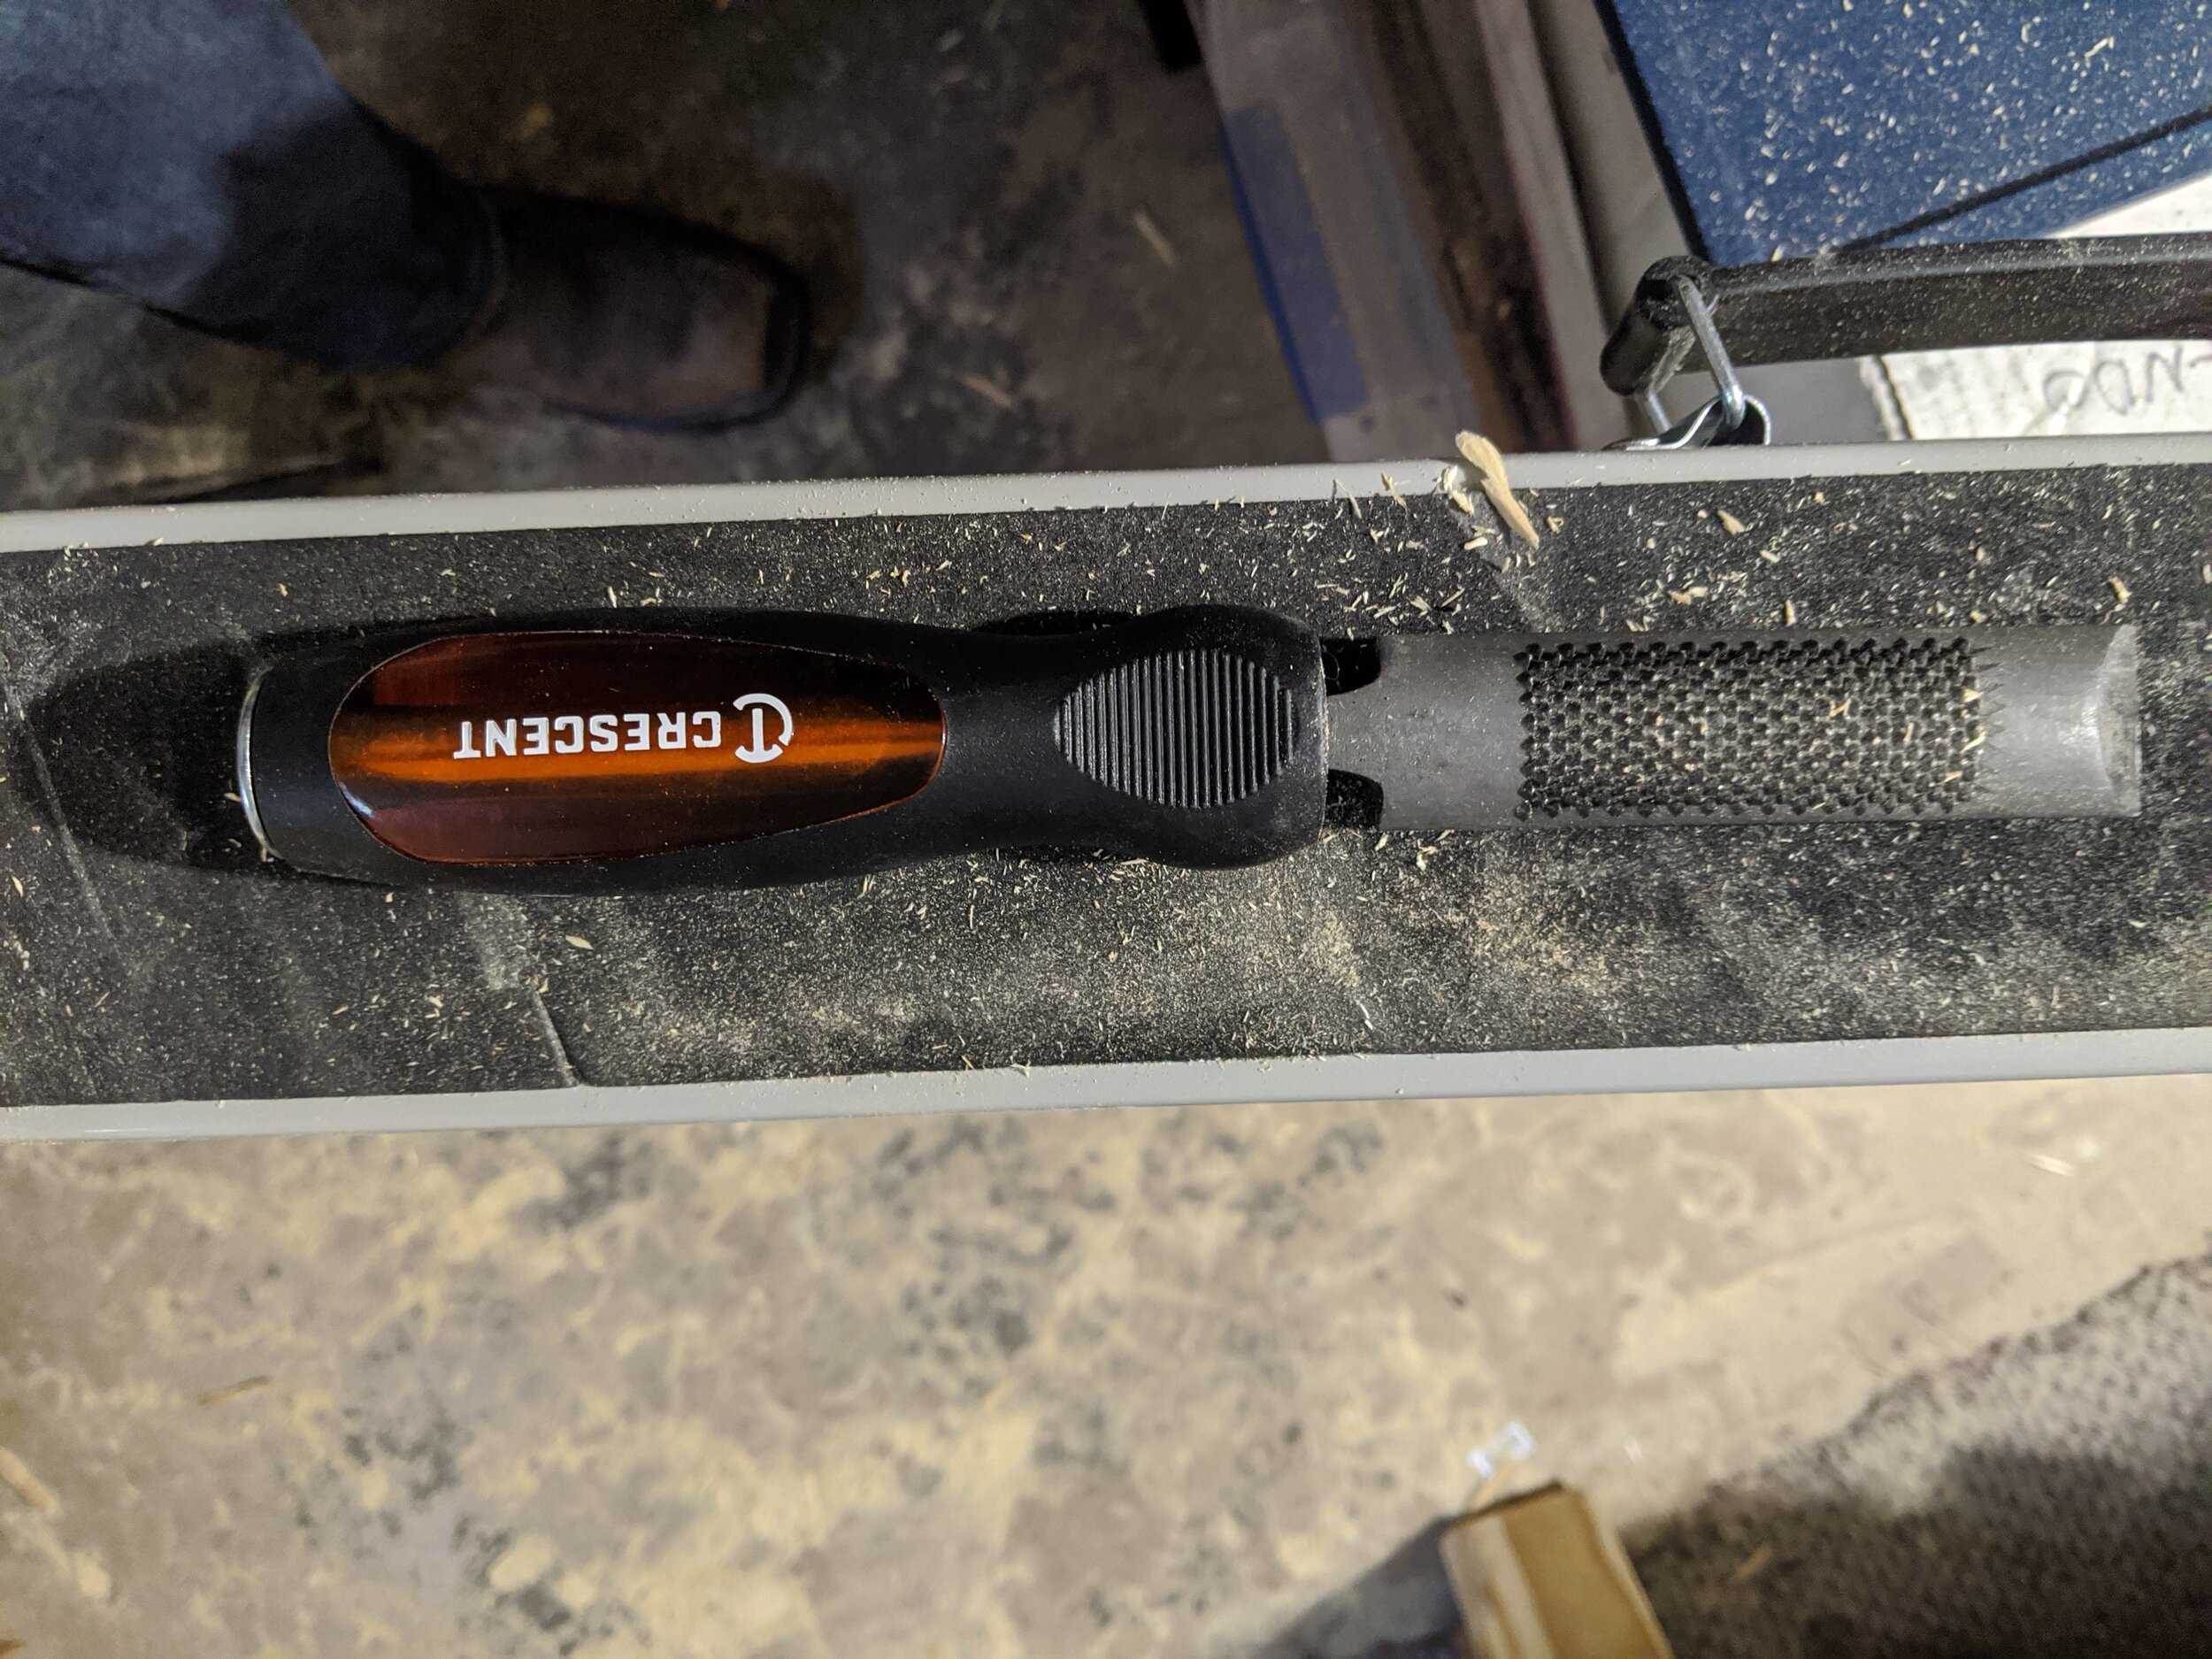
I did spring for a large box of wood screws, and some new tools for this project, but I don’t count that in the cost, as those are used to fuel more projects.
NOTE #2:
As this project sat for way too long, I ended up getting more parts for the build and I have lost track of what I have spent, but I may be able to add it up as I start to work on the actual building. Once that happens I will provide a cost analysis of what has gone into this.
TO the Build and Beyond:
Finally I have a section of the garage to begin putting this thing together. I was able to get some measurements and a quick drawing made up to provide a simple design for the rack. The height of the rails came to 36” and the width of the rack based on minimum and maximum for varying hole sizes needs to be 19 & 1/8” plus or minus 1/16th of and inch, which is about what we will get after sawing to 19 and 1/8 so that works out.
I want a simple rustic look that does what it needs and isn’t overly fancy in the design. I don’t need any crazy cross brackets or braces, or anything that as a non architectural person could screw up. I have designed it to use only straight cuts as my miter skills leave something to be desired, at least until I get the tools to actually do some miter work.
For depth I did a little research and it’s adjusted what I thought of for my design. I settled on a 36’ total rack depth and having my rails set at 29”. This gives me the option to rack most servers and have a little wiggle room at the back where If I get something larger than standard it wont creep out the back of the rack.
To finish and box everything together the supporting 2x4s will be attached together with external 2x4s. In my head this will give it a rustic design of someone just throwing pieces together to make it work.
Each piece will be cut, deburred, sanded down and then finally stained with a nice black cherry stain that will give it a dark reddish/purply tint.

Design Document
This gives us our basic dimension of the rack and now that I think about it, I will probably go an extra 1/4” to give a little room for the rails so they are not top to bottom exact.
For our dimensions based on the design doc and my added little bit of 1/4 in of hieght to give the rails breathing room, our board lengths come to :
(Double checking my diagram I missed some measurements, that is why my Dad always said “measure twice, cut once”)
True totals based off remeasurements:
6 @ 43 1/4” (4 verical posts + 2 vertical for rear rails)
4 @ 25 1/8” (4 Front/Back Facing pieces)
4 @ 36” (4 Side Pieces)
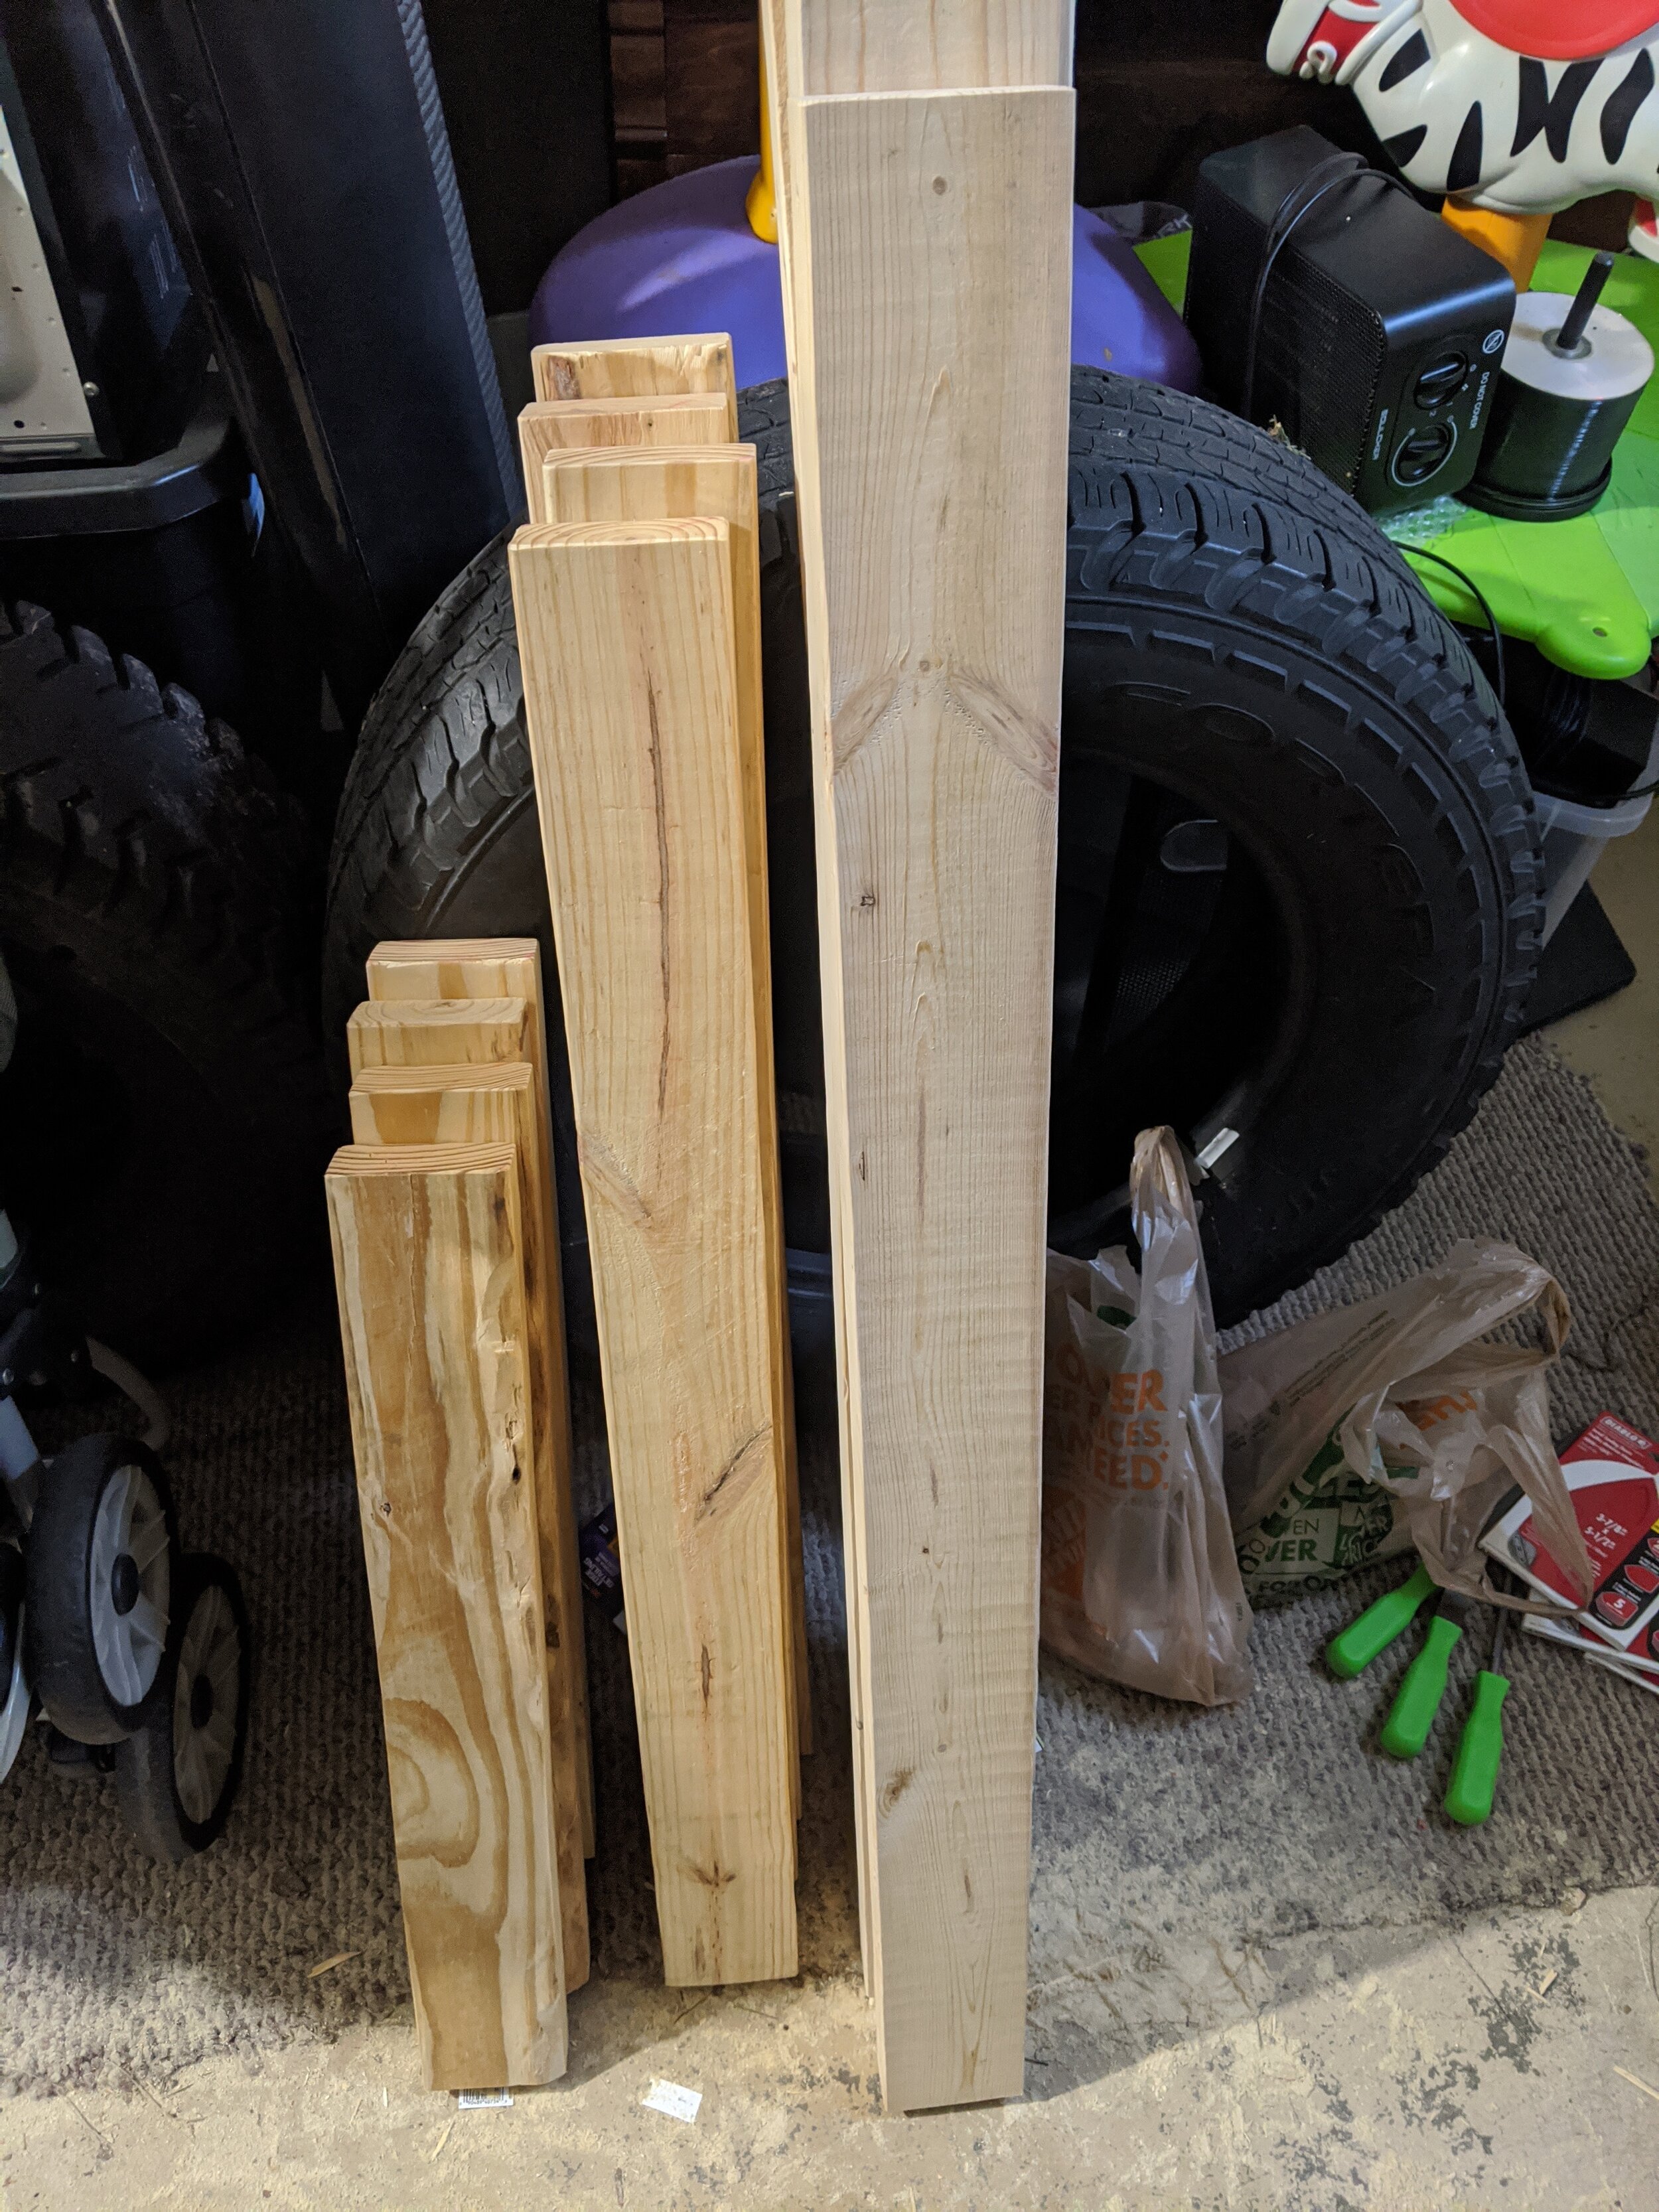
Pieces that I have are:
9 @ 47 3/4
3 @ 35 3/4
So much for getting everything you pay for. Definitely don’t trust your pre cut pieces from what ever shop you purchase from, bring a tape measure with you. In any case that should be enough to make all my pieces, barring me royally screwing up the cuts.
Prepping the wood for staining
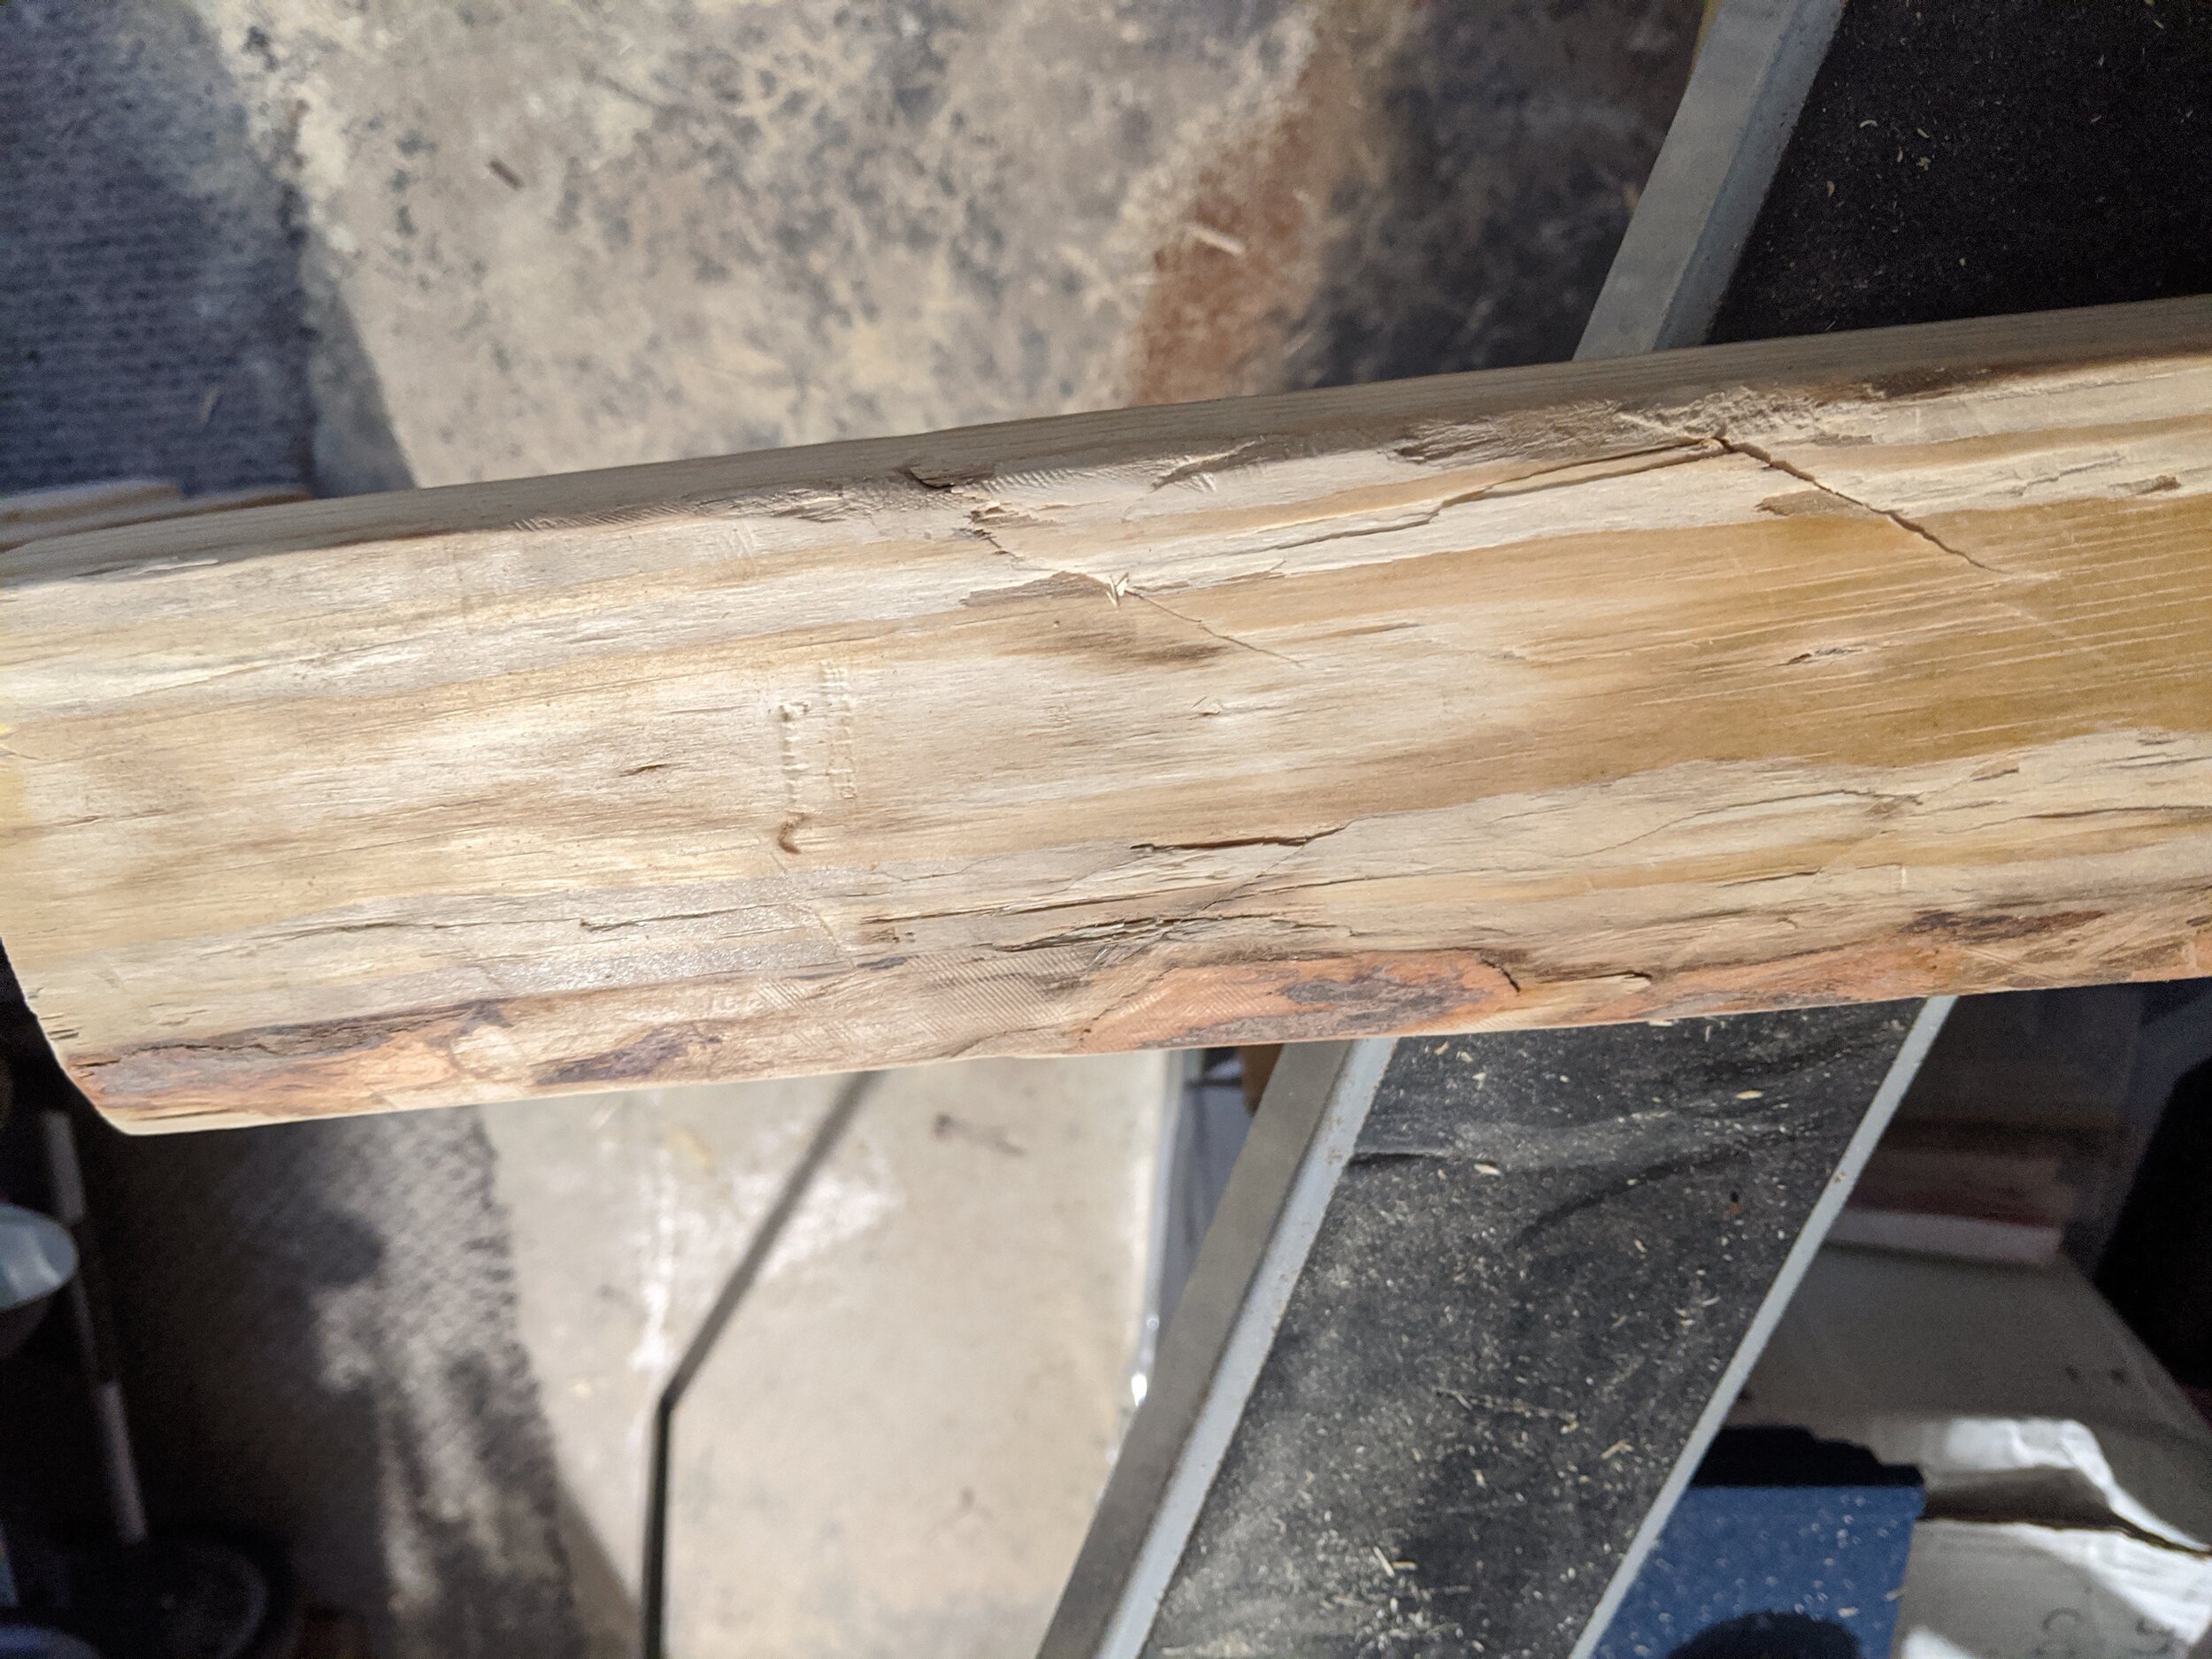
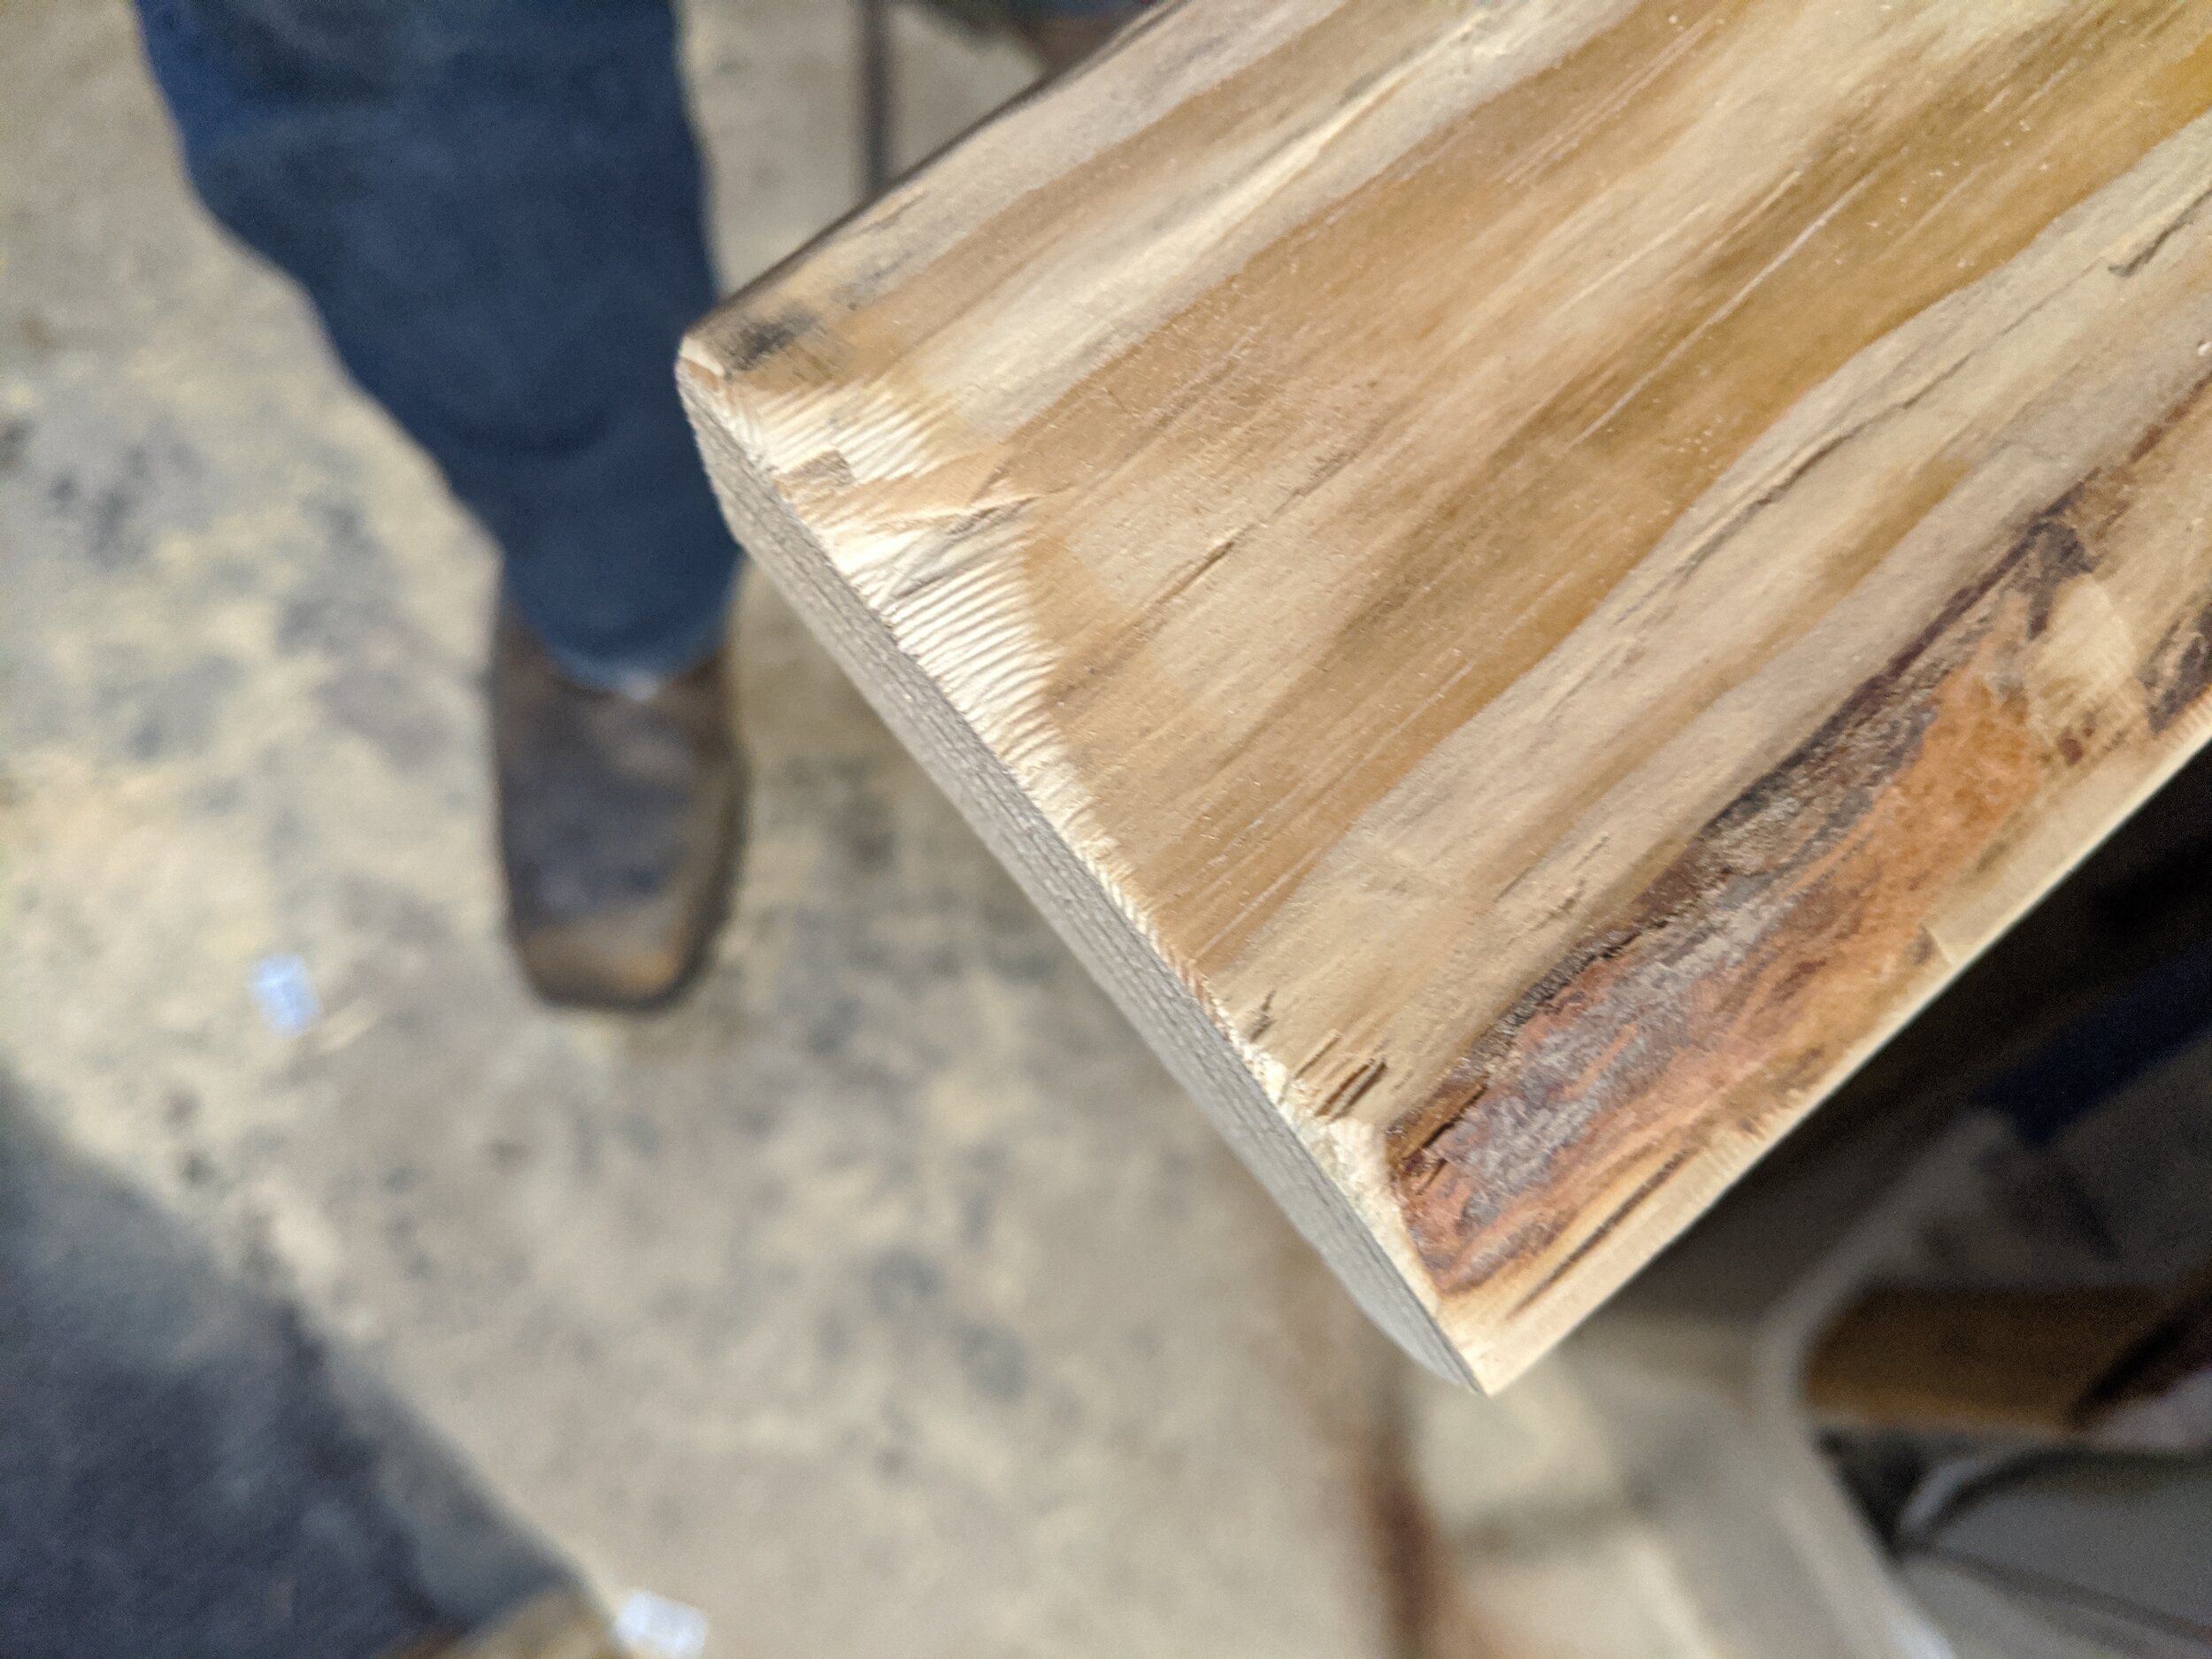
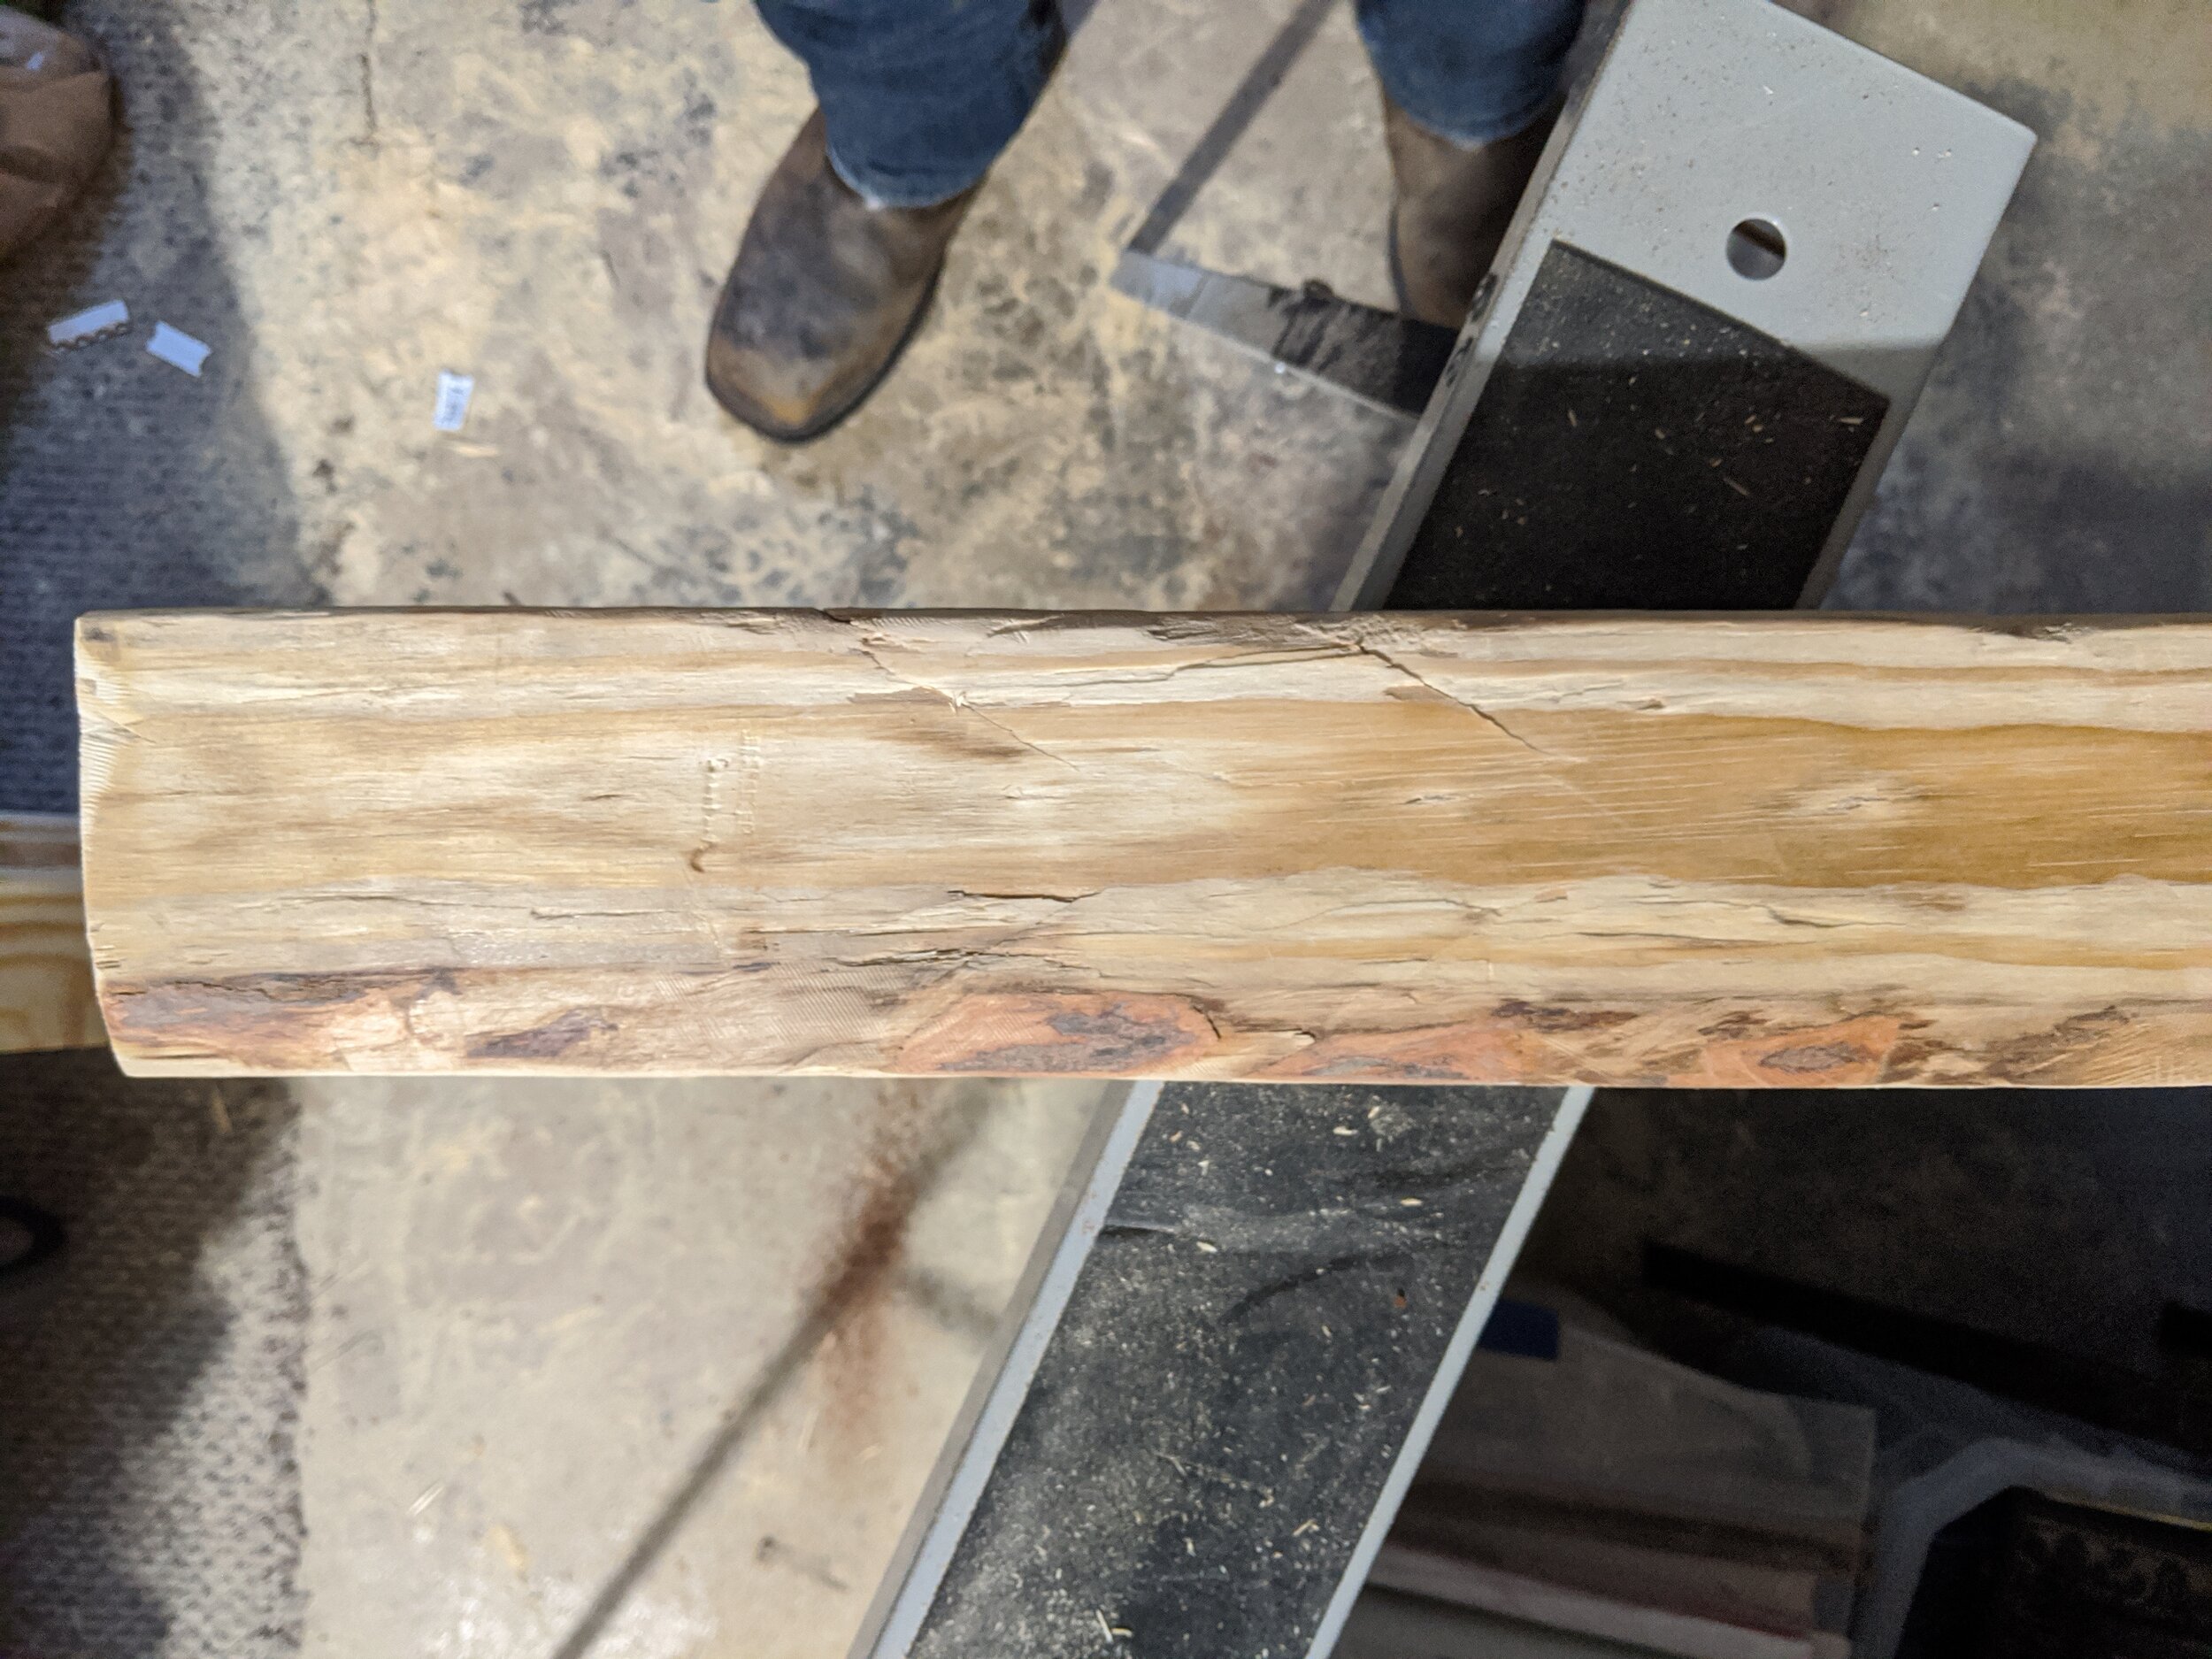
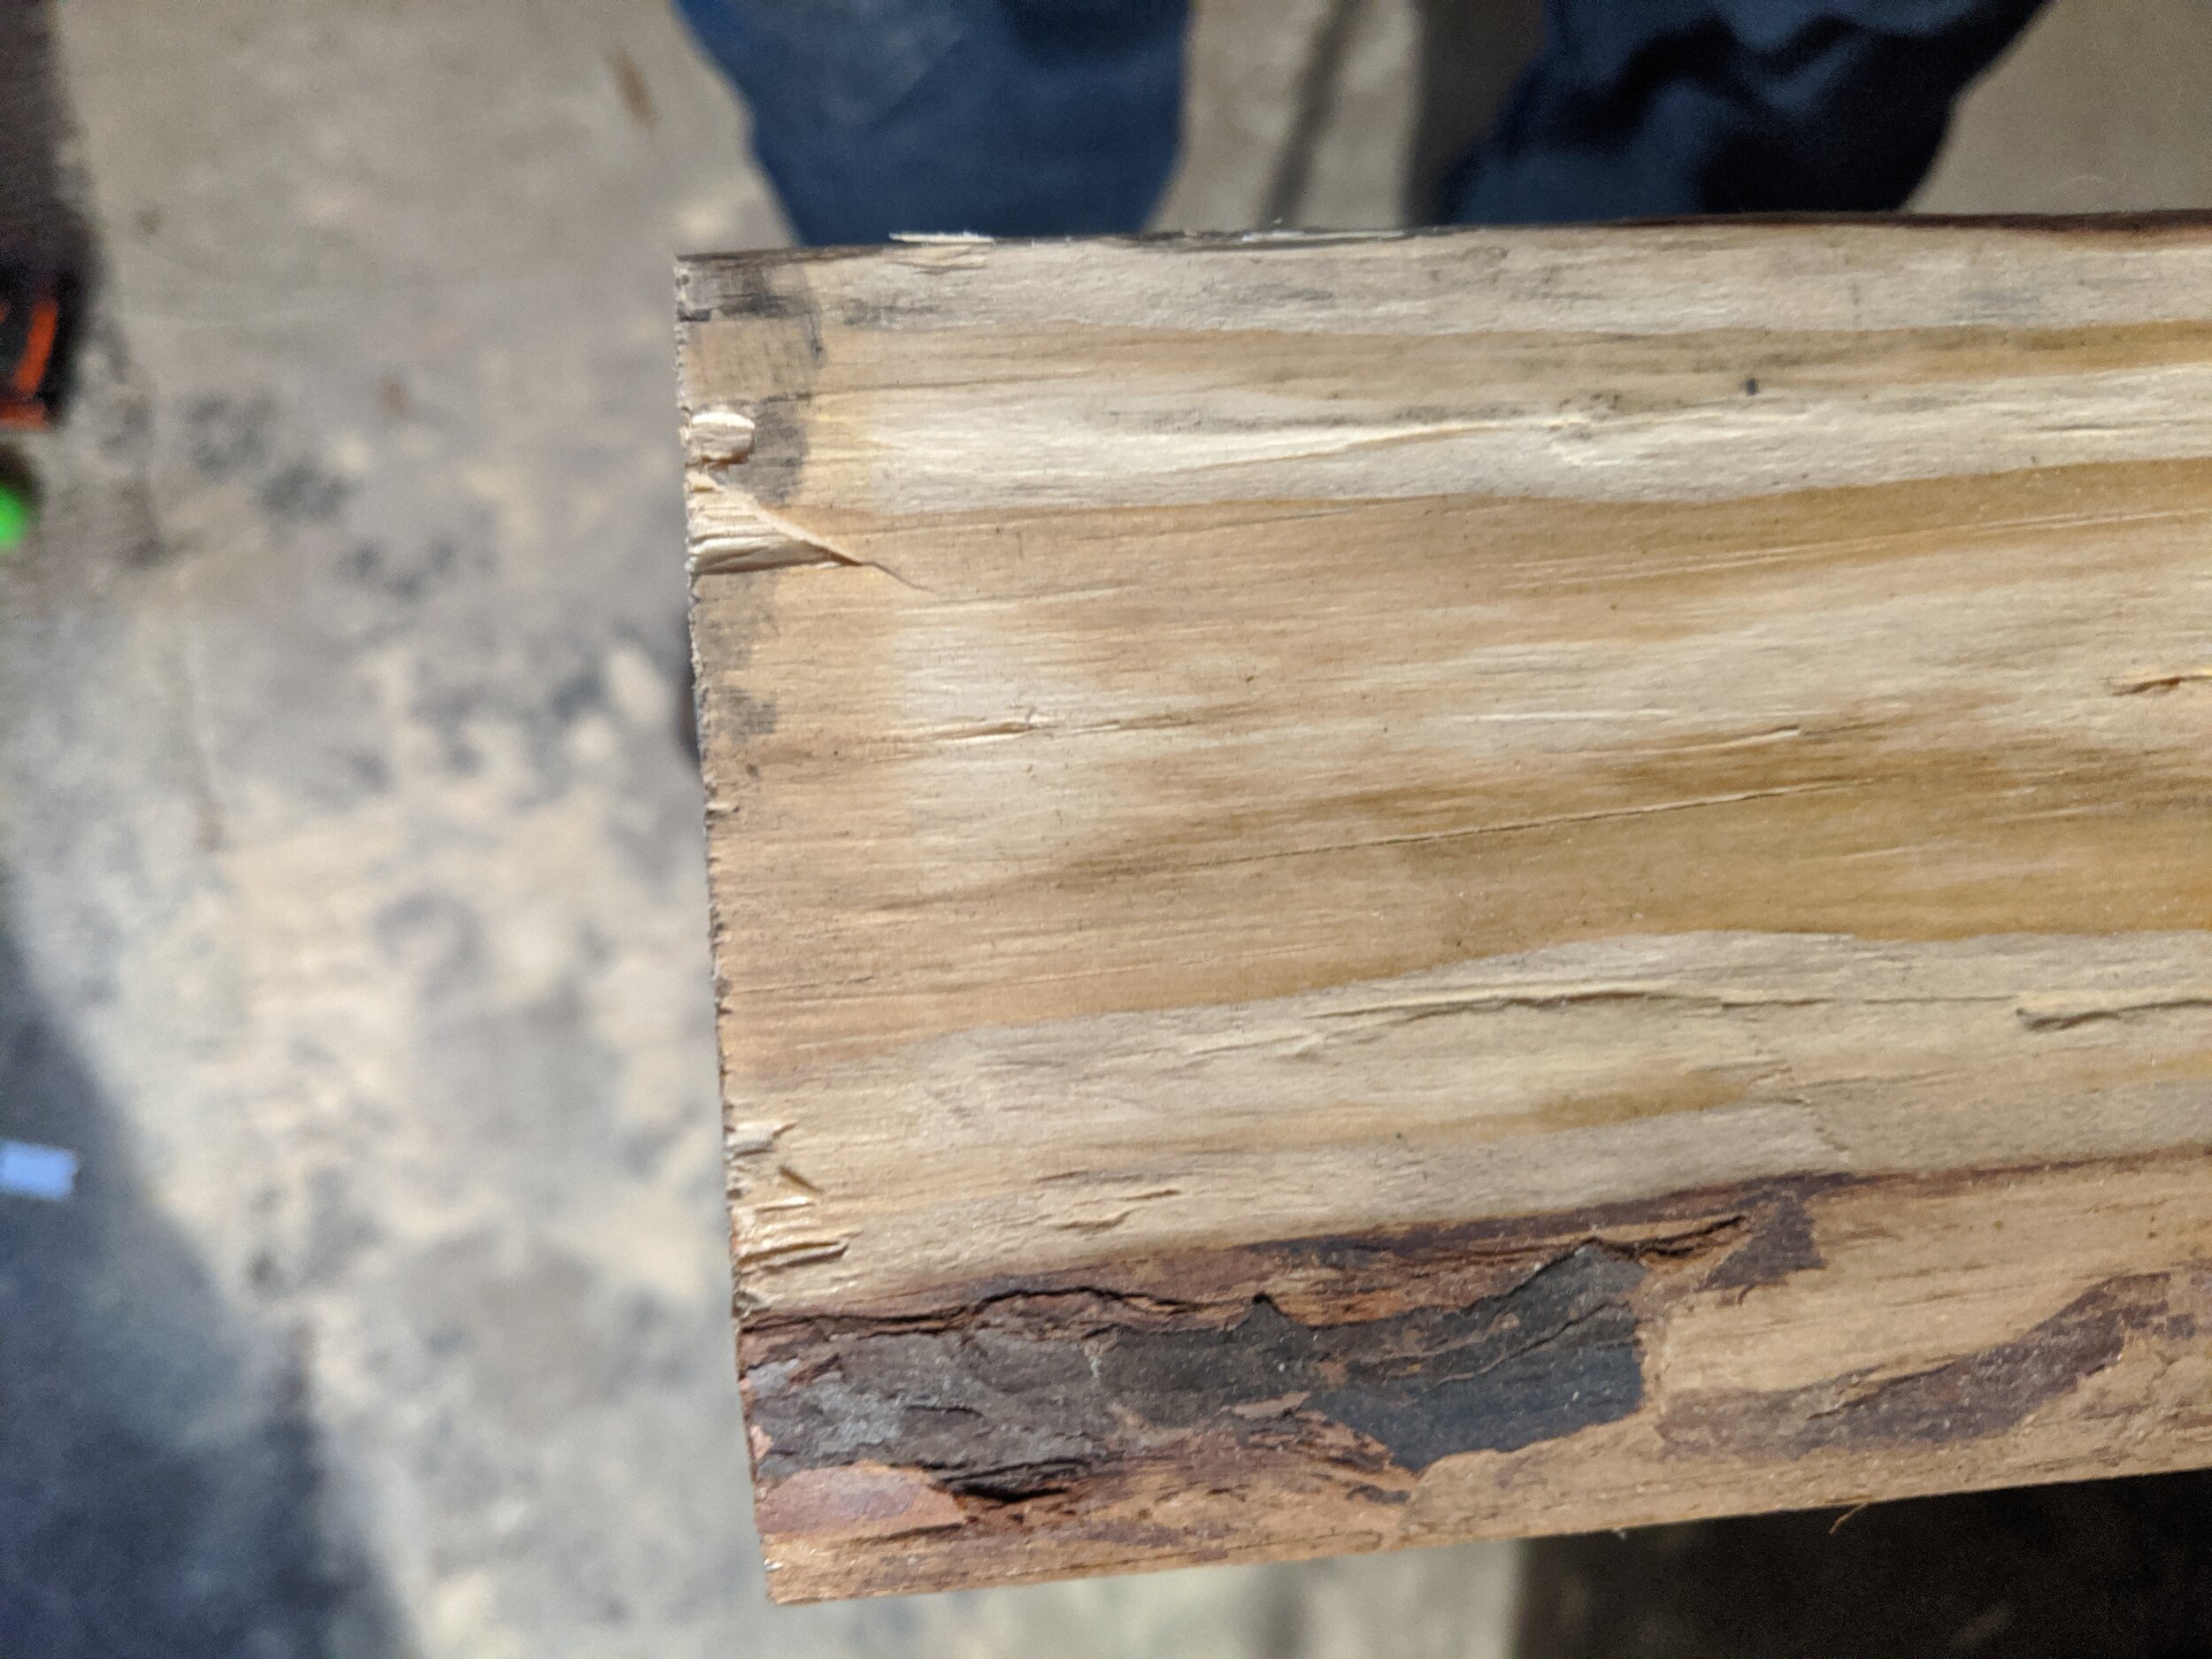
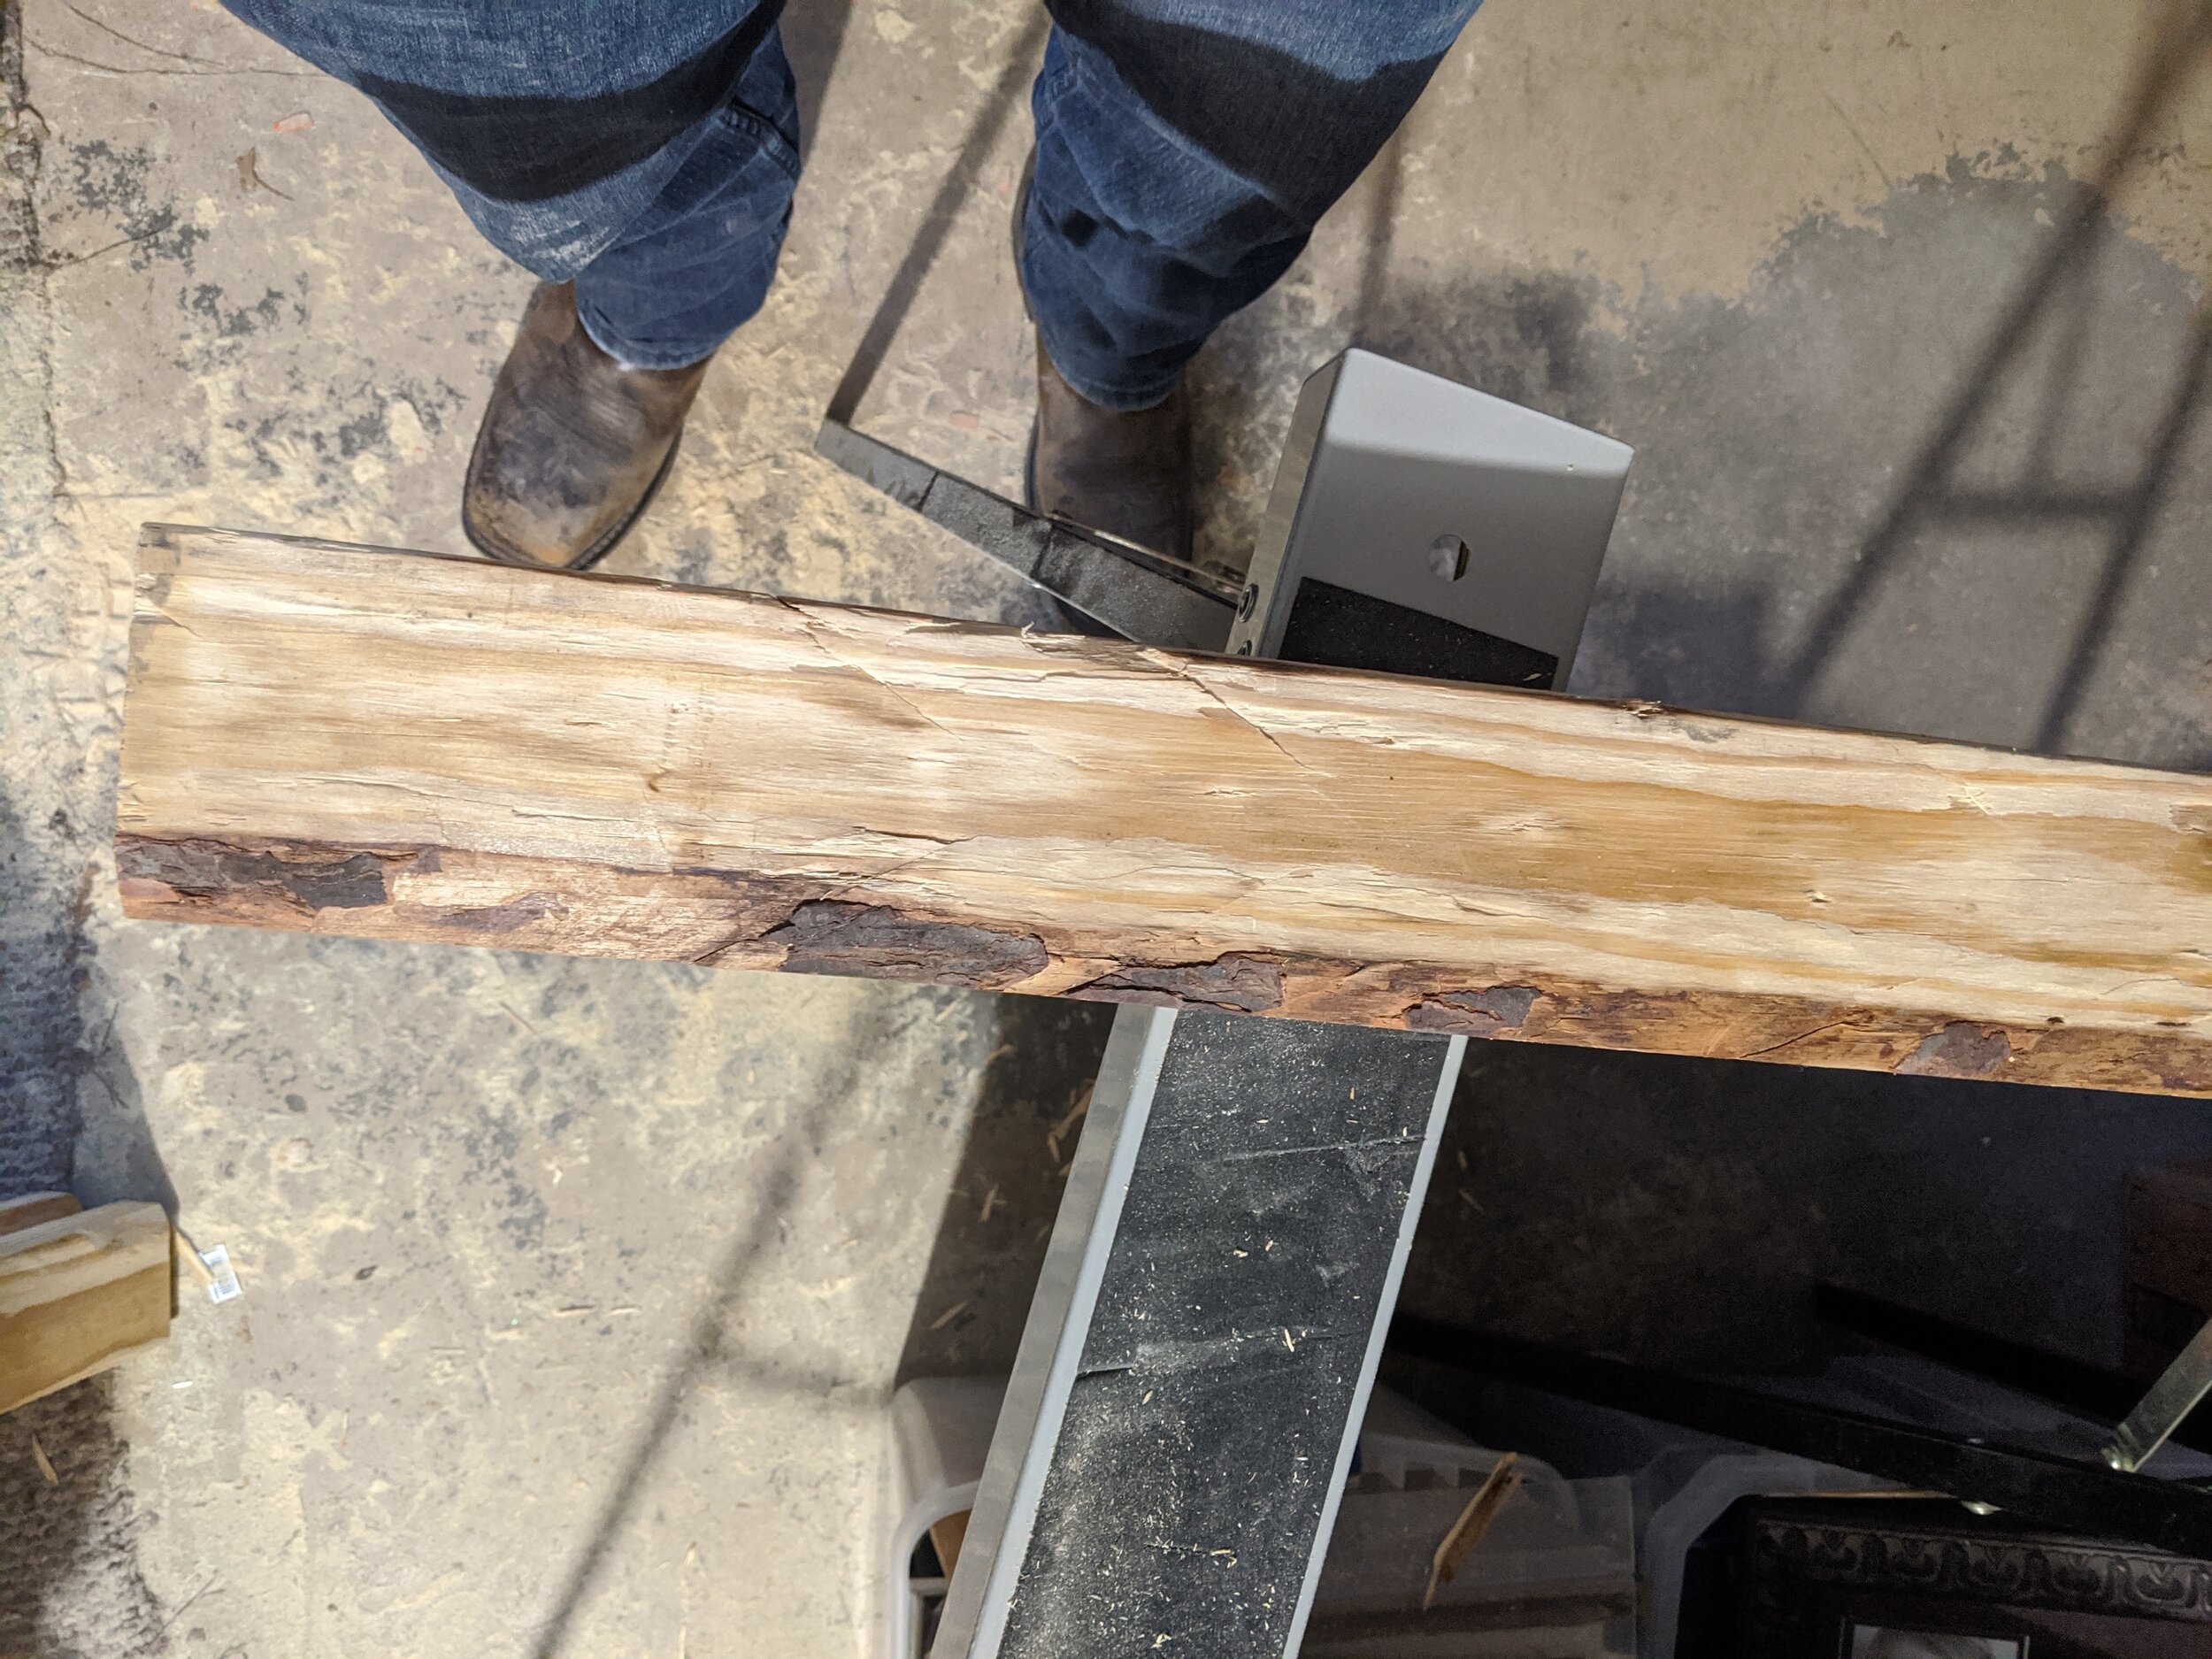
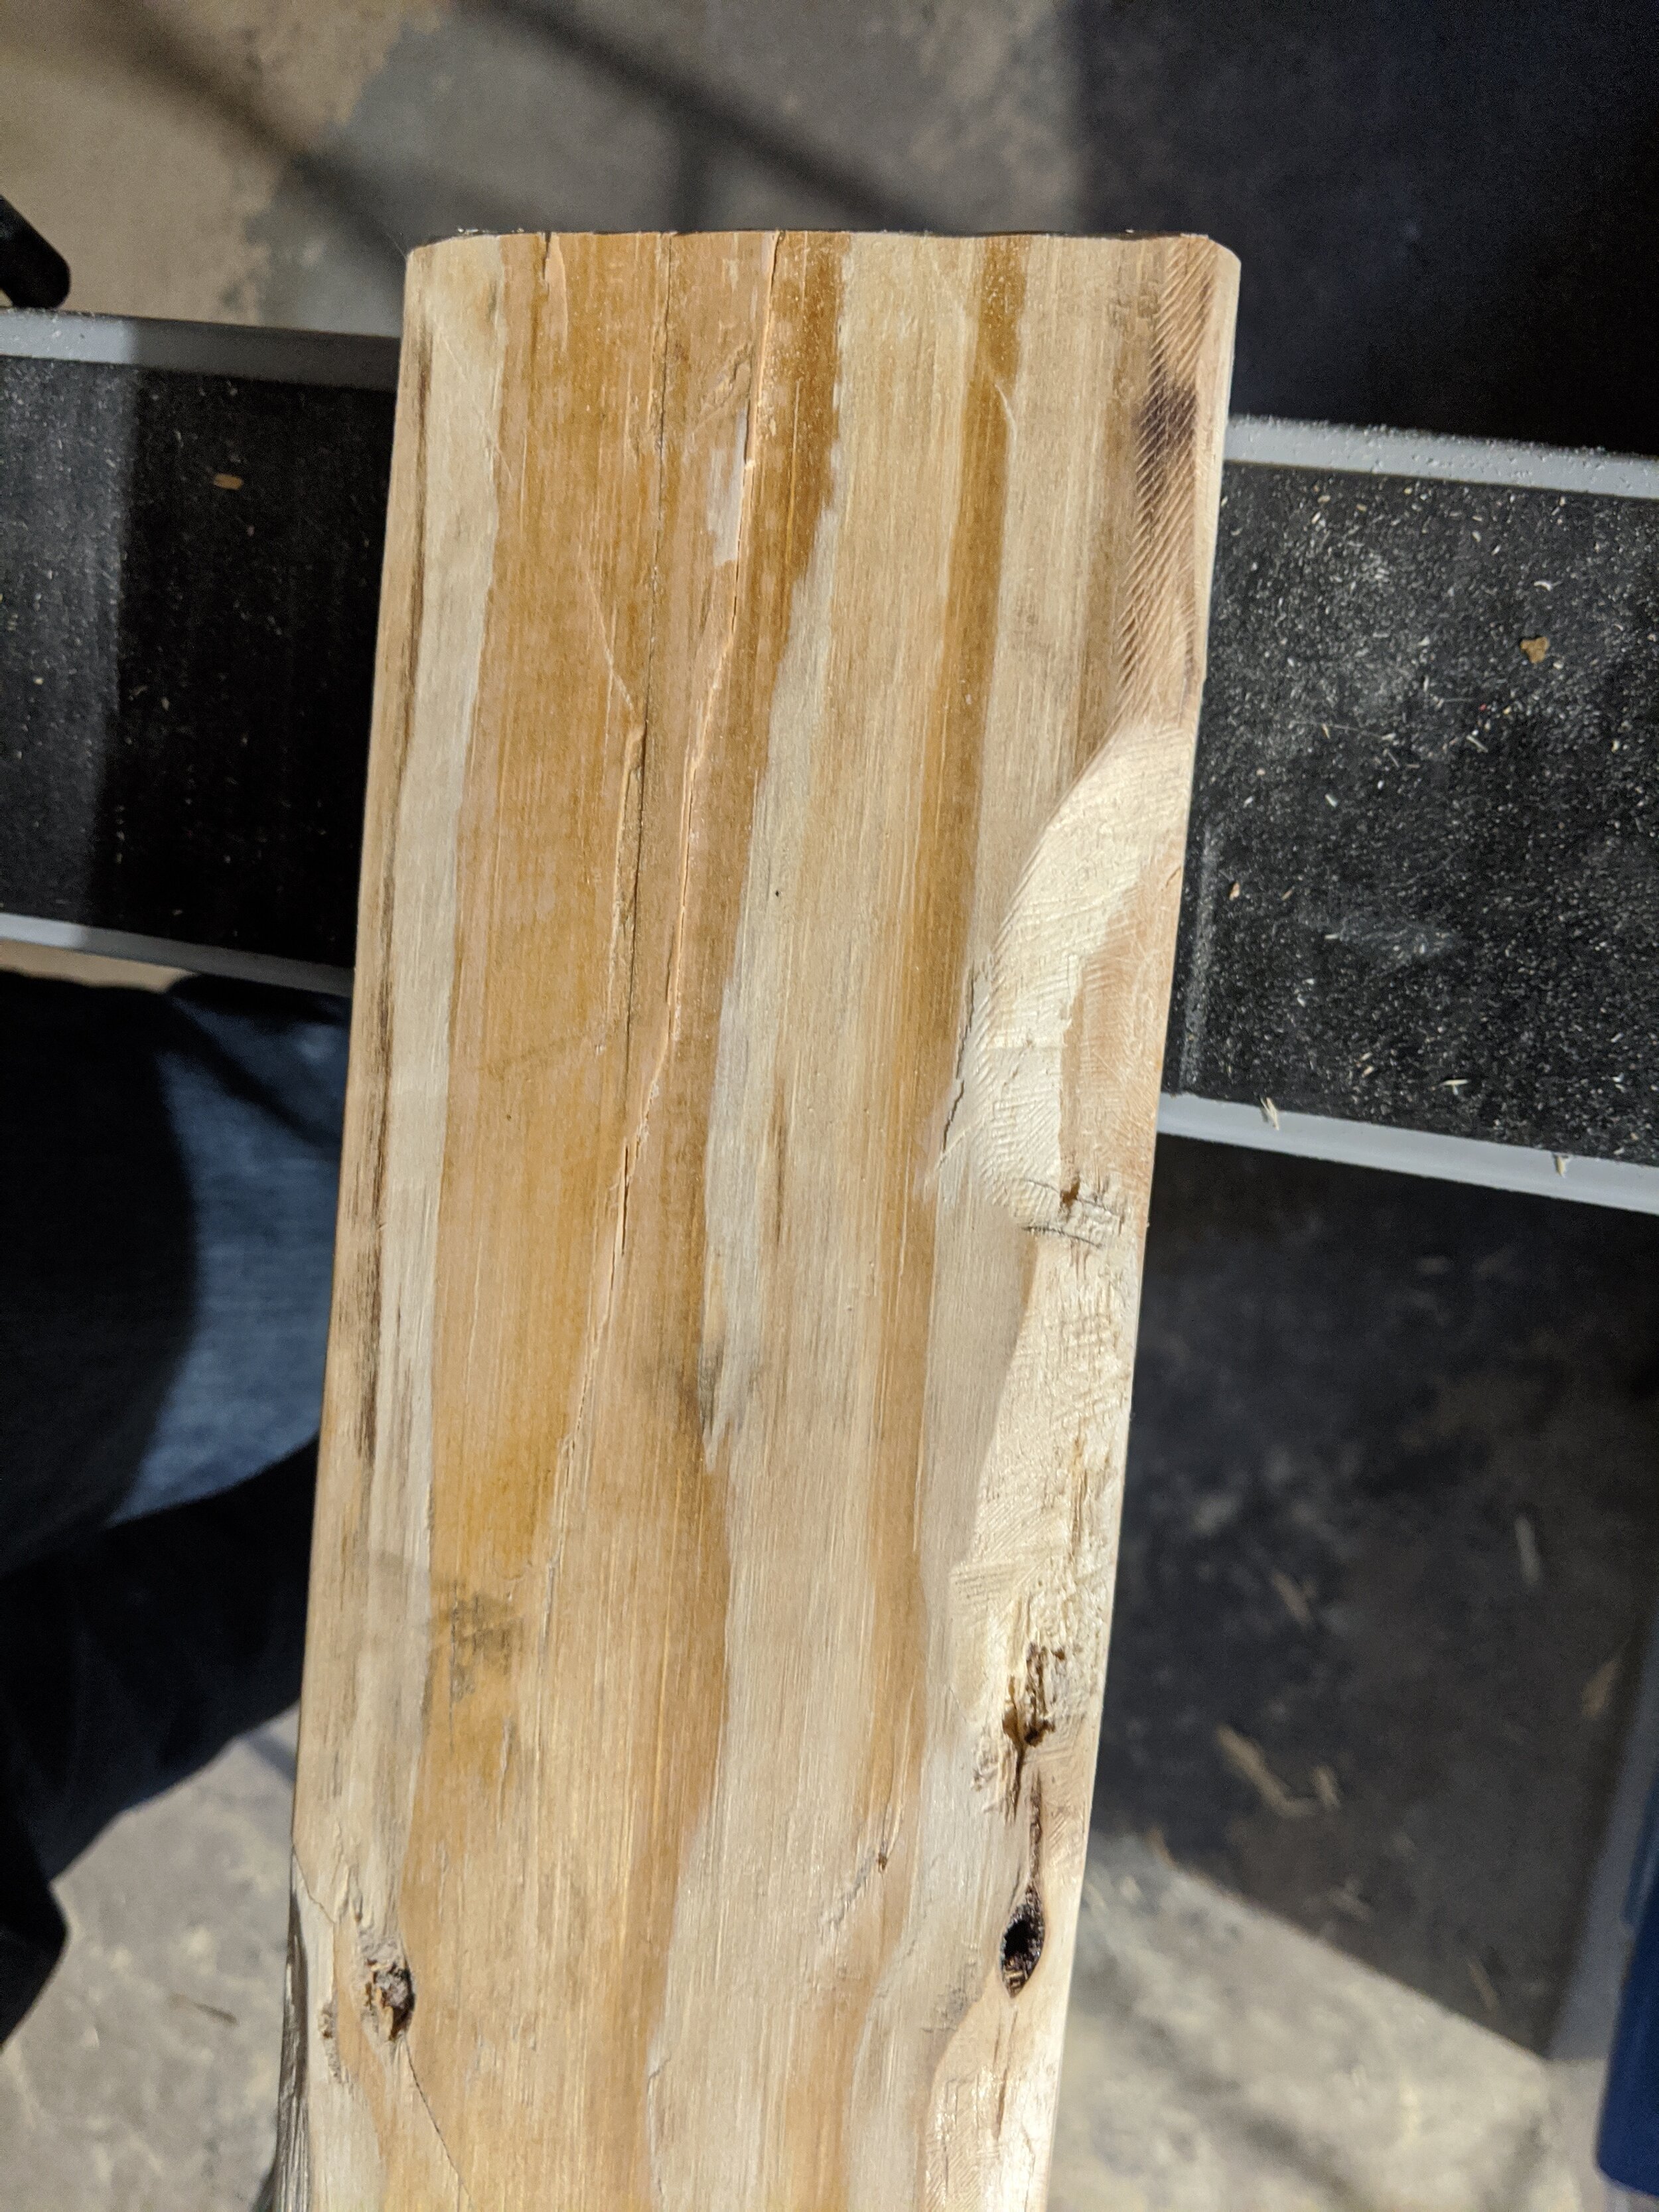
Beginning to prep the wood for staining is looking to be a major undertaking. I thought getting wood that had defects would go for a good look, while that is yet to be determined, Getting the defects to be suitable for a final product is laborious.
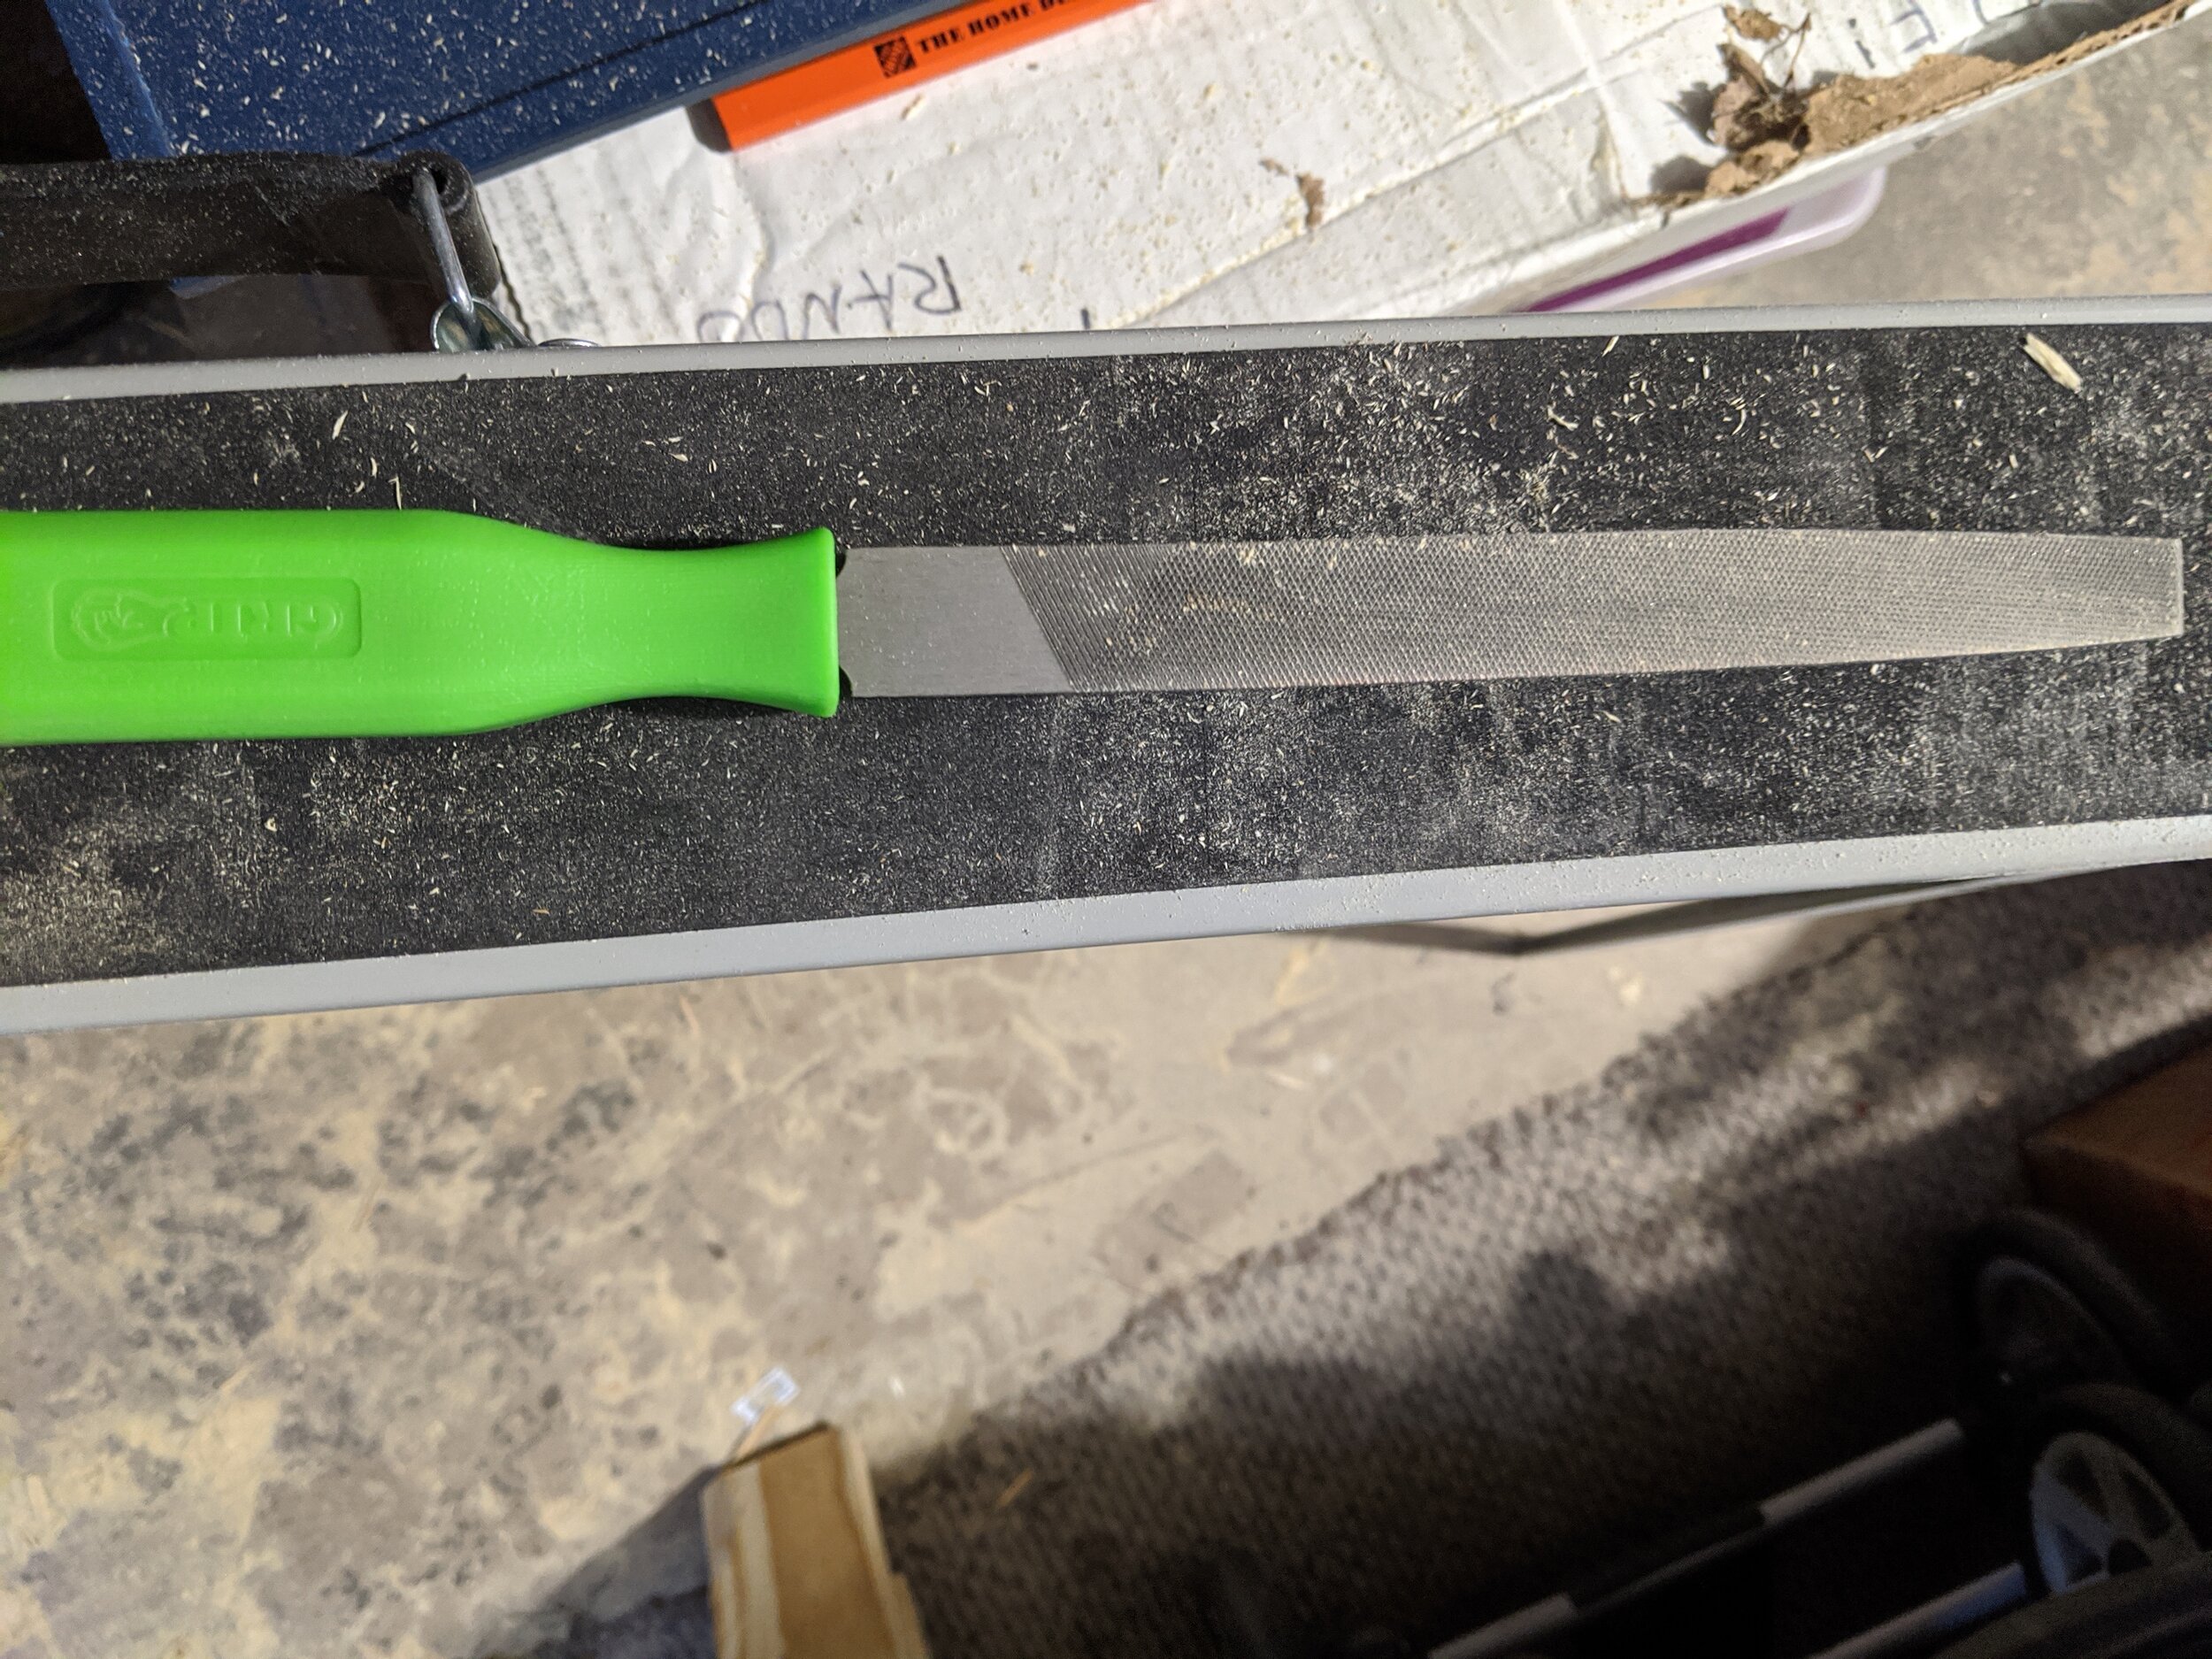
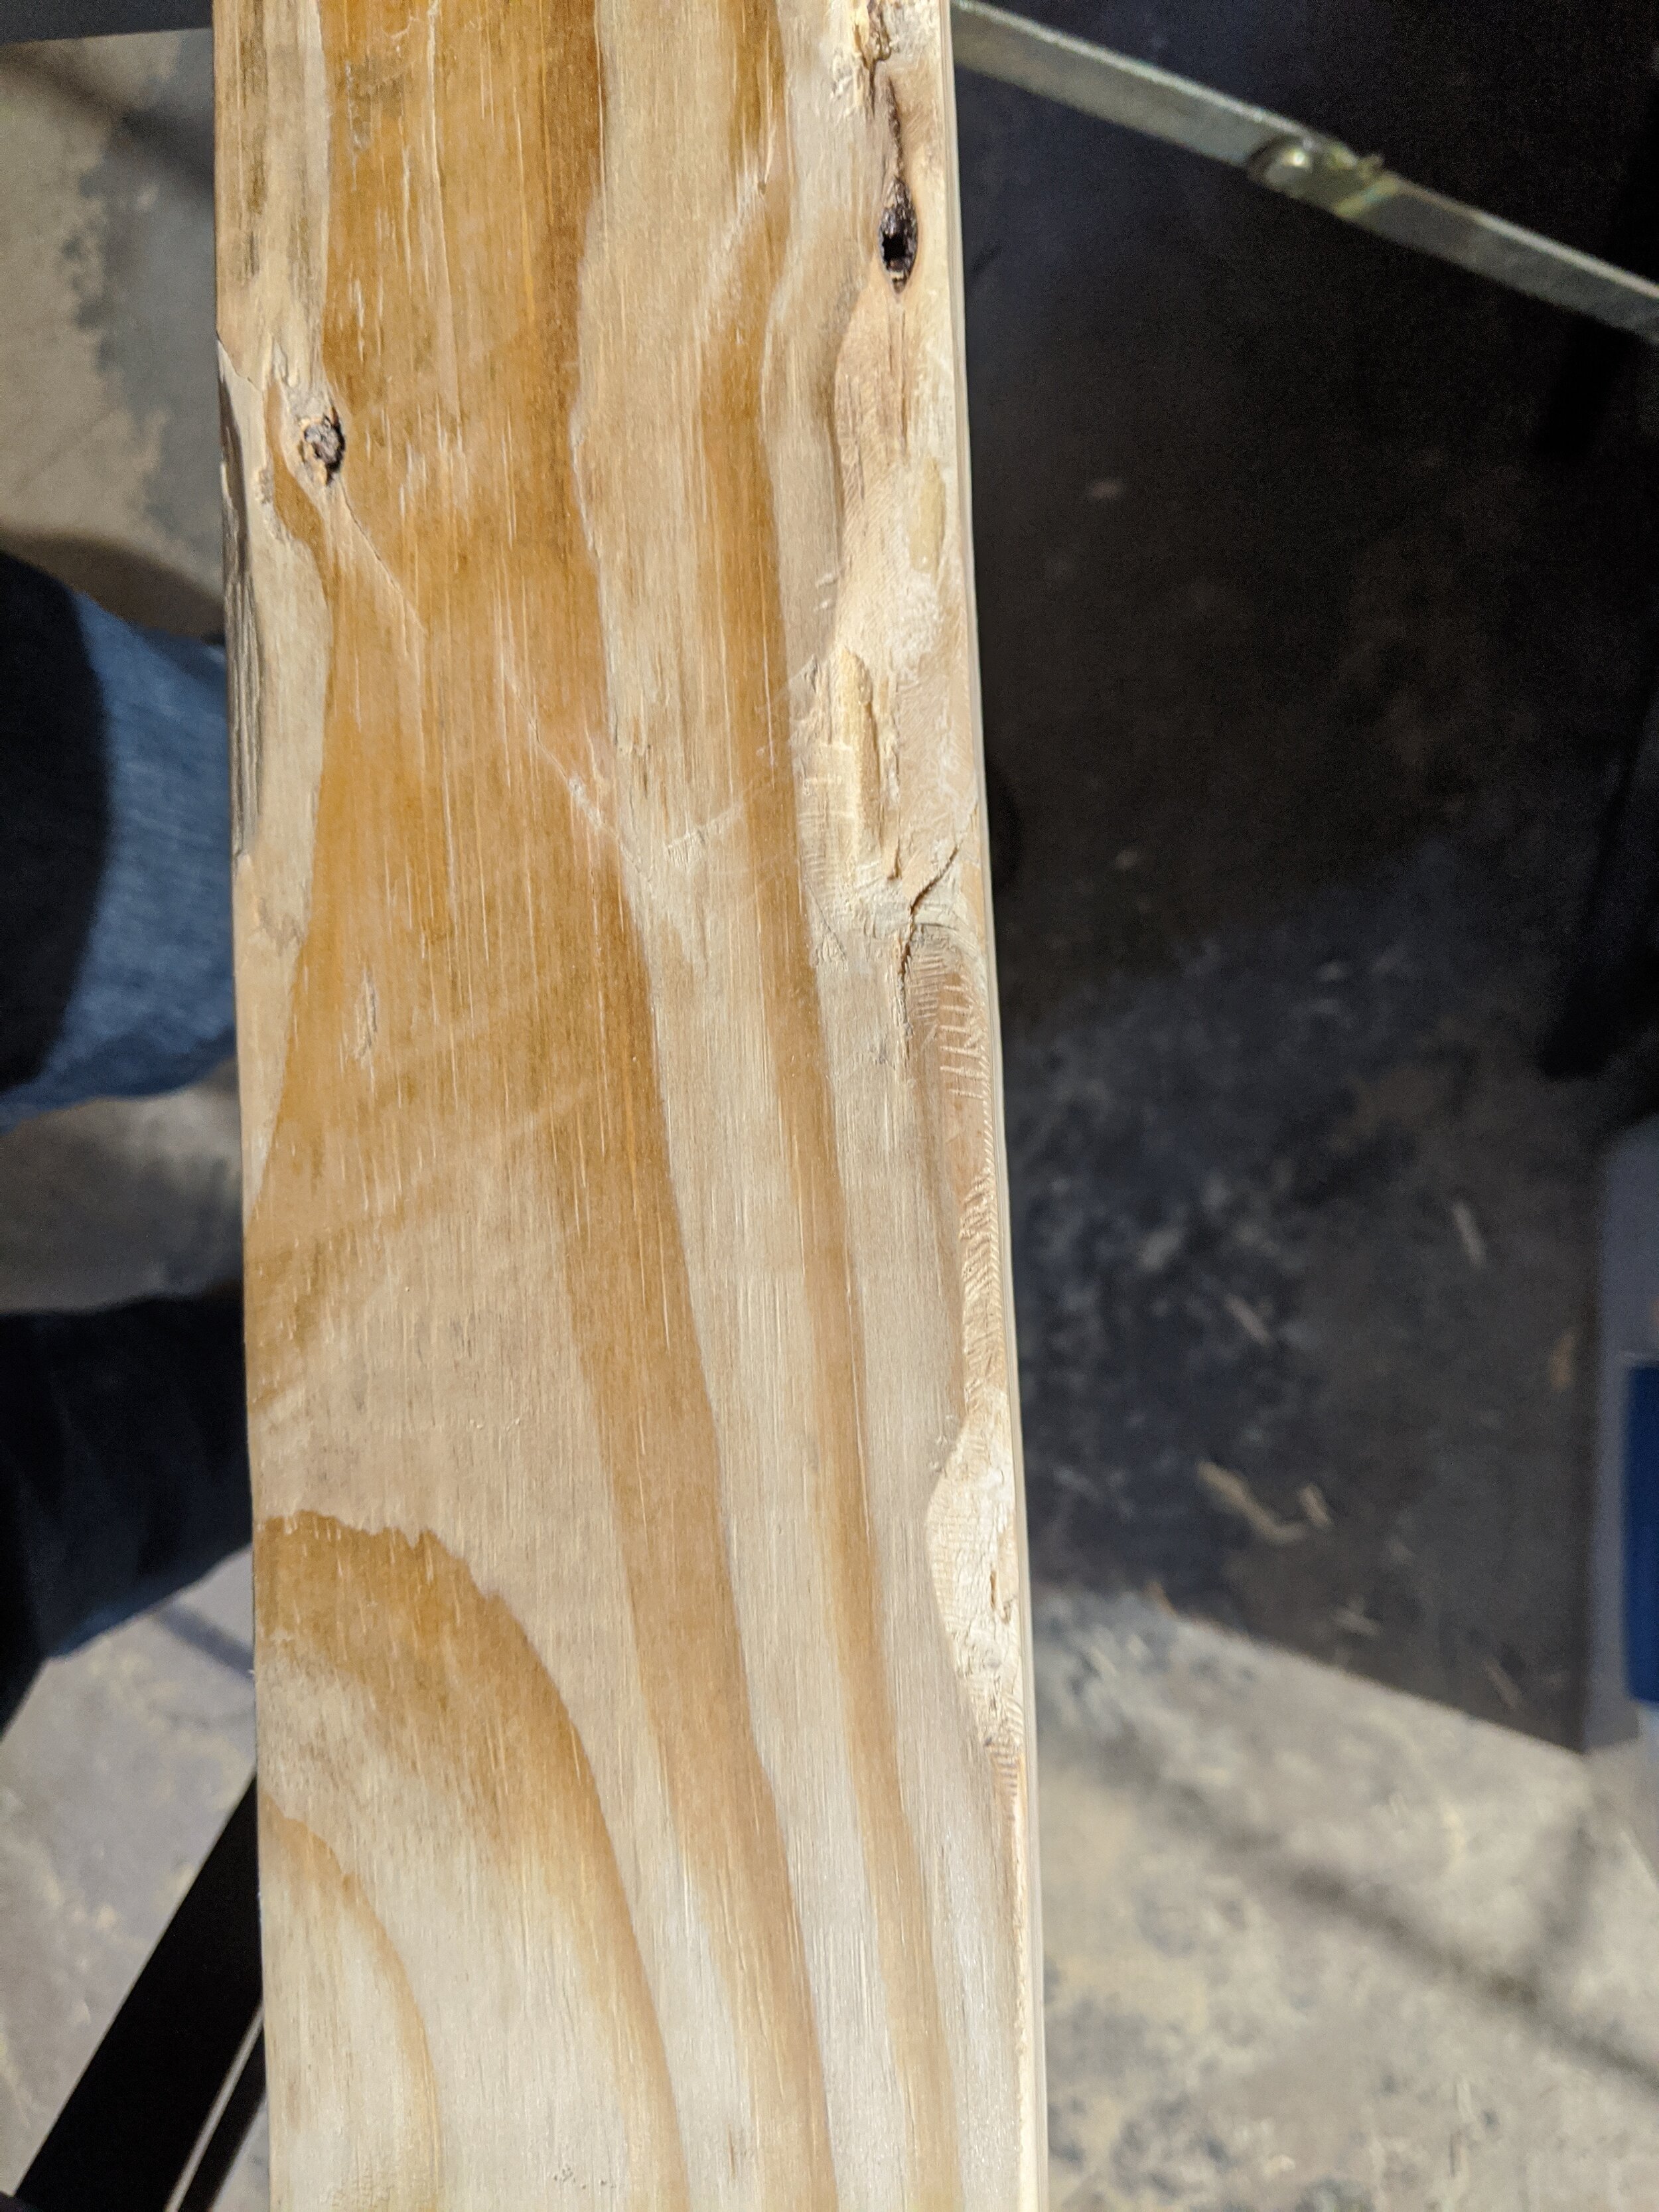
First, when making the cuts, it was needed to be determined whether the area that had the defects could be whittled down to make for a still solid piece of material. Second, after the cuts were made each area needed to be brought down to an acceptable amount of burly-ness. This involved chiseling the areas and filing them down until some sanding could take place. The end result is something I’m so far liking, but in the future if I do this, I’m getting some power tools to do the work.

Prepping For Stain Part II
Now that we have gotten a rough down of all the pieces going in, next is to do several runs of ever fine sanding to finish the prep for stain.
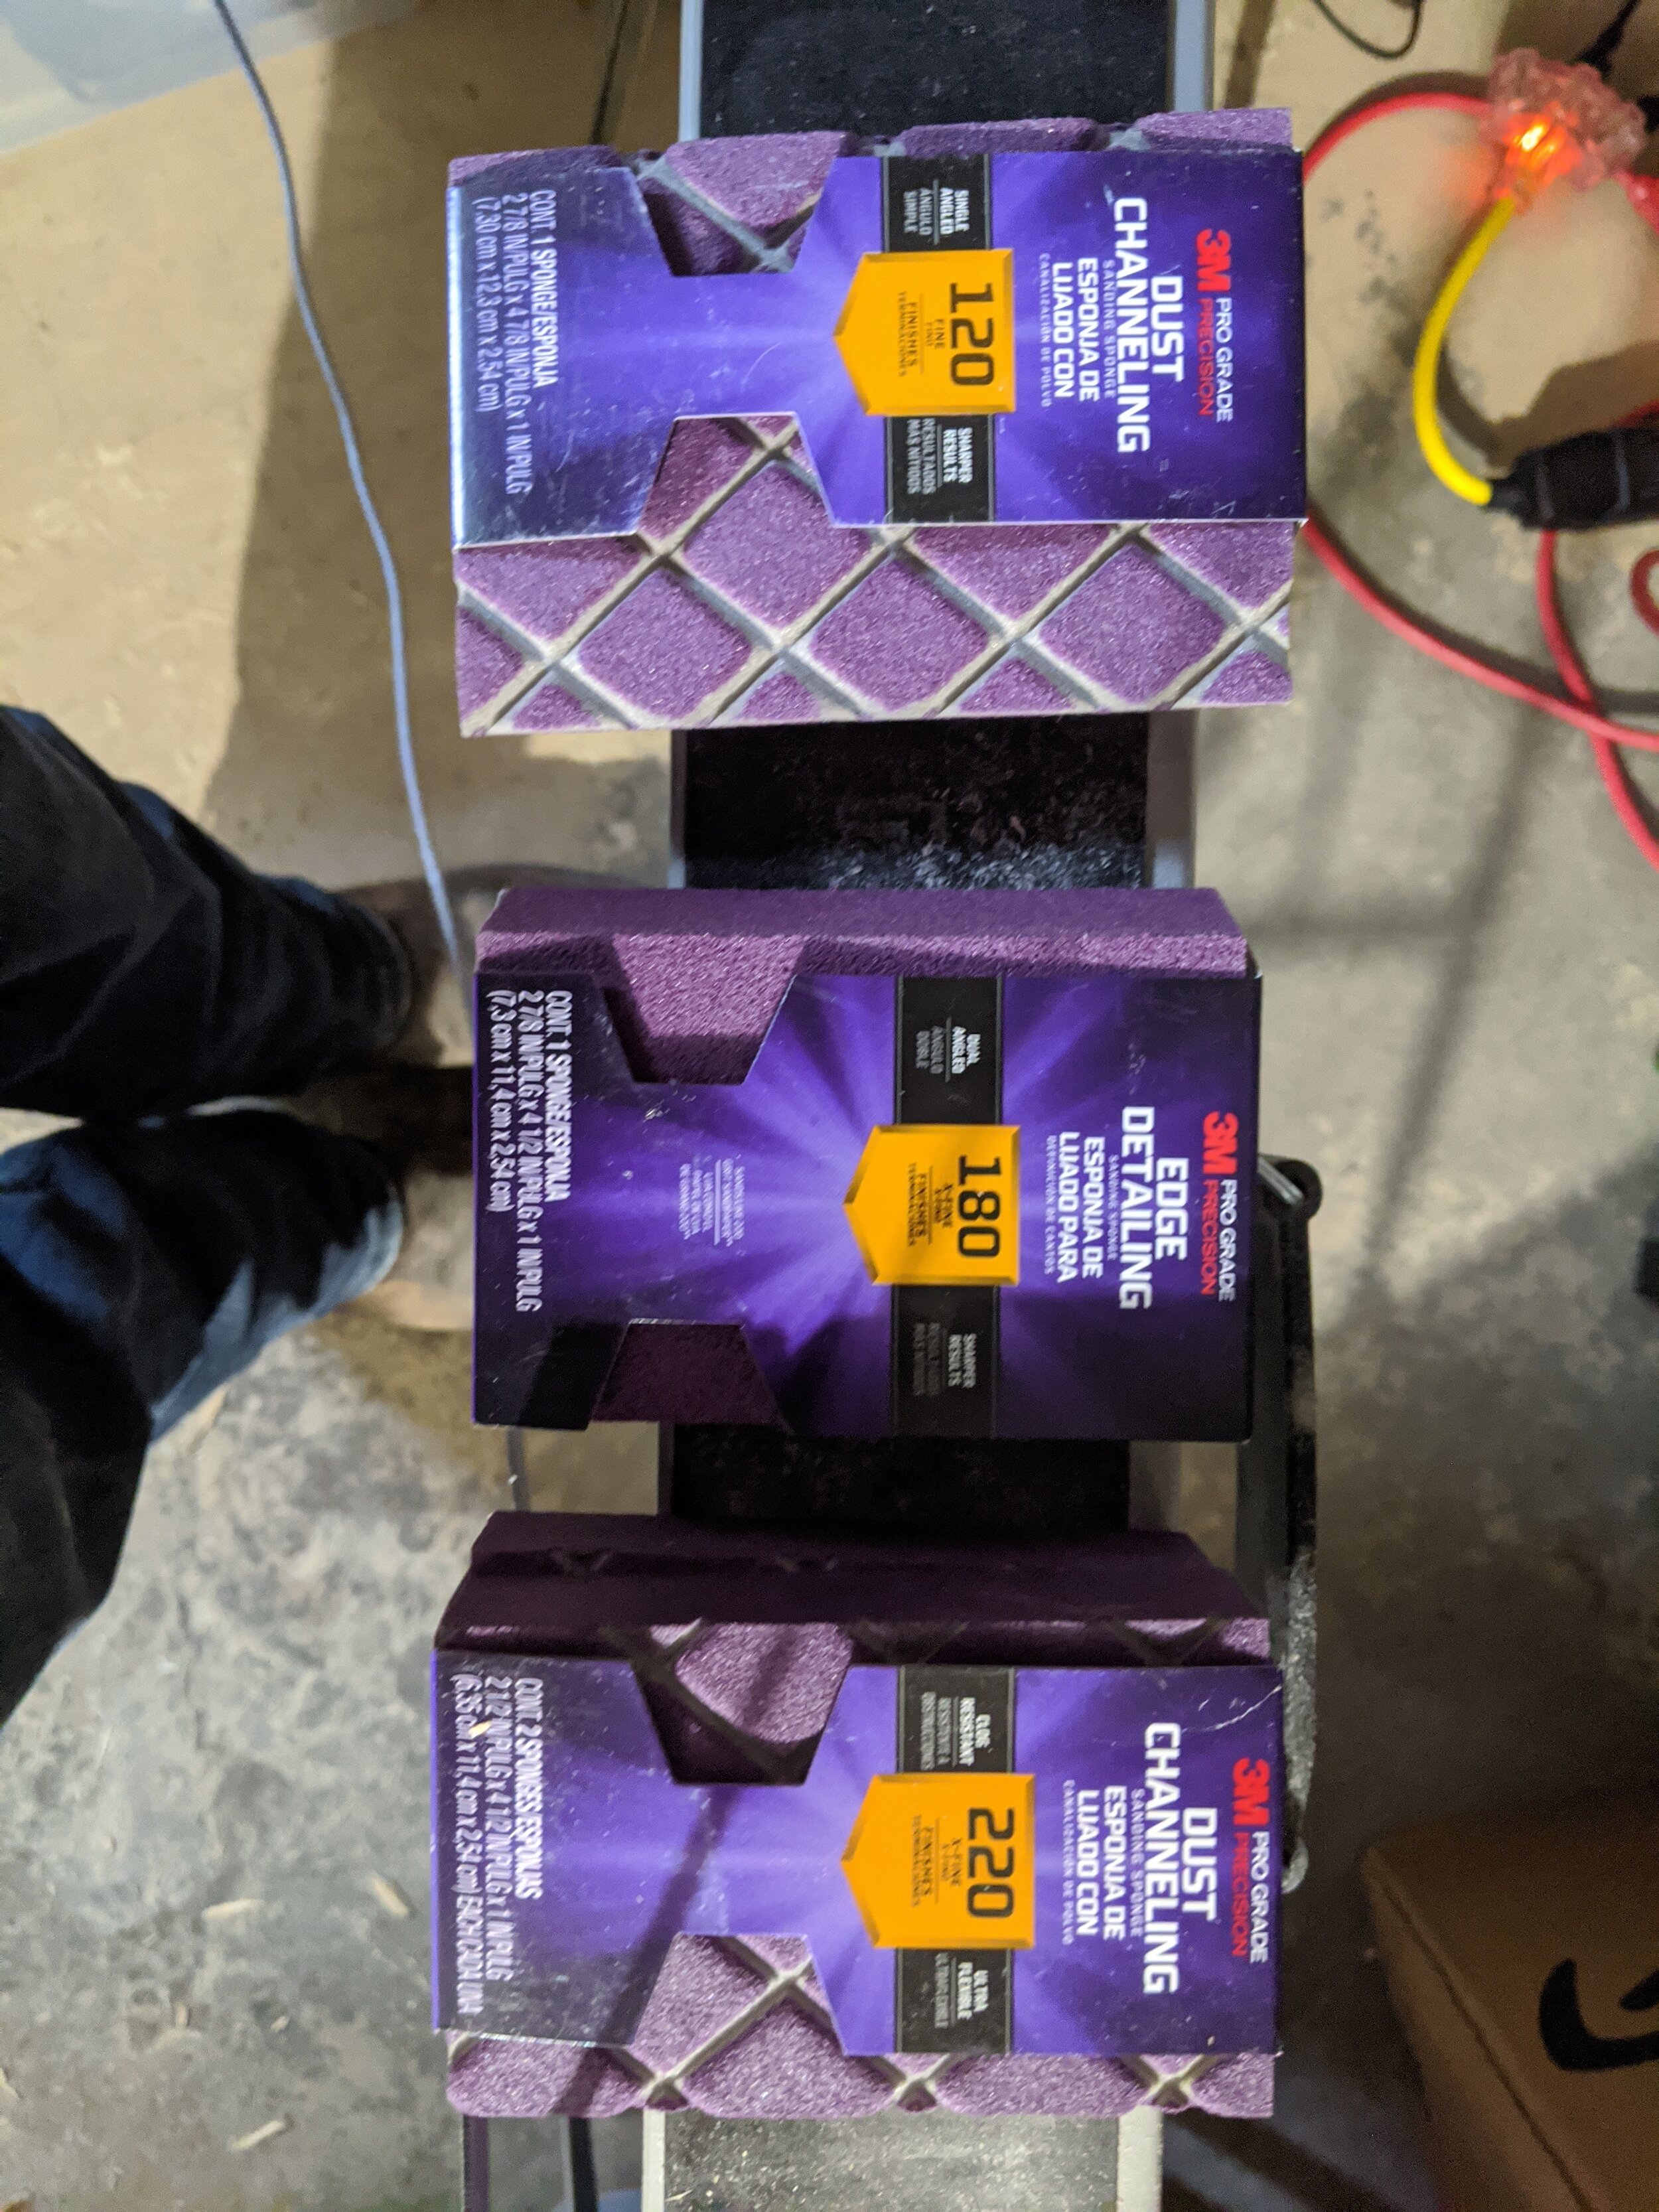
Here I will be running through the stack of boards with one type of sandpaper, and then starting over with the next grain until I have finished at 220 Grain. Unfortunately I will not be able to use my 80 grit sandpaper block on any future project so that cost gets sunk to this project.
Current Tally of Consumed Tools:
1x 80 grit sandpaper block
3x Dos Equis
Dang! Adding a 120 grit block to the list.
And a 180 block
the 220 Block held up and can be used on future projects.
Each piece has been sanded down, using the following. 80 Grit sandpaper until most smooth, or an acceptable roughness. 6 passes on each side using 120, 6 passes using 180, and 4 passes on each side using 220. Each piece is now baby butt smooth, or mostly is and I figure that the polyeurathane will protect against what little burrs are left.
The last bit of prep before staining.
Cleanup.
Staining
Coming in Part III of the Network Rack Project, we will be staining the wood and applying a finish coat to the wood before assembling all the pieces.